
Every fish location in How to Fish: all 54 creatures by island and water depth, bait matching, ripple colors and the nine endangered species.
How to Fish All Fish Locations: Species, Zones and Bait Matching
How to Fish scatters far more catchable species across its five islands than the game admits, and it tells you almost nothing about where any of them live. Sportskeeda's launch guide puts the count at over 30 distinct fish — but the game actually ships 54 creature entries: 43 regular species across the Lighthouse and four main islands plus 11 boss-tier creatures. Each species has its own water depth preference, bait tier and fight pattern. Here is every location and the logic that connects them.
How Fish Spawning Actually Works

Three variables decide what you hook:
- Island and zone — each island stocks its own species pool
- Bait tier — bigger catches ignore cheap lures entirely
- Water depth and distance — shallow, mid-depth and deep zones hold different tables
The practical consequence: casting the same lure in the same spot forever yields the same three fish. Moving zones matters more than re-rolling casts.
Reading the Water: Ripple Colors
Before choosing a spot, read the surface. One detailed community guide (Worldeka) documents a ripple color system that holds up across islands:
| Ripple Color | Meaning |
|---|---|
| White | Common fish |
| Blue | Uncommon fish |
| Gold / orange | Rare and legendary targets |
| No ripple | Standard open-water stock |
Gold ripples are the money spots. Unusual splashes, bubbling and distorted water are also worth investigating — some special spawns never show a clean ripple ring.
The Endangered Species List (Short Version)
Nine creatures carry an endangered flag in the game files, and they follow one rule: none of them come from a casual cast. Three are the headline money spawns — Pufferfish at $12,000, Superdwarf Fish at $1,700 and Oarfish at $1,450 — while the other six sit between $60 and $380 and exist mostly to gate quest hand-ins such as the Desert Tourist's delivery. The flag is mechanical rather than cosmetic: it decides which hand-ins accept the catch, and their low spawn weights are the reason gold ripples are worth the detour.
Never vendor a creature with an endangered flag before checking your quest log. Hand-ins accept specific creatures only, and endangered drops are the ones players sell by accident — the $12,000 Pufferfish is the obvious trap.
The full breakdown — every flagged creature's HP, sell value, island, water depth and bait, plus the delivery chain and the Fishipedia link — lives on the endangered creatures guide. This page stays focused on spawn logic and zone routing.
Every Creature: Full Stats Table
The numbers below are the exact values the game uses — not community estimates. HP is how much punishment a creature takes before it dies, sell value is the base price before cooking and weight multipliers apply, and damage-on-hit matters when you are fighting aggressive species off your boat.
| Creature | HP | Base Sell ($) | Damage on Hit |
|---|---|---|---|
| Mutated Bowhead Whale | 38,000 | 15,000 | 36 |
| Albatross | 7,800 | 13,000 | — |
| Pufferfish | 18,000 | 12,000 | 34 |
| Giant Piranha | 2,500 | 11,000 | 32 |
| Spider Crab | 750 | 10,000 | — |
| Bowhead Whale | 20,000 | 8,000 | 28 |
| Goblin Shark | 7,500 | 6,200 | 25 |
| Tuna | 6,000 | 2,000 | 40 |
| Superdwarf Fish | 120 | 1,700 | — |
| Anglerfish | 650 | 1,500 | 40 |
| Stonefish | 800 | 1,500 | 30 |
| Oarfish | 1,000 | 1,450 | — |
| Blobfish | 1,000 | 1,360 | 14 |
| Dripper | 350 | 380 | — |
| Parrotfish | 550 | 350 | 22 |
| Voxel Fish | 380 | 340 | — |
| Flying Fish | 250 | 320 | — |
| Tigerfish | 380 | 310 | 24 |
| Bing Bong | 2,000 | 300 | 75 |
| Blue Shark | 2,300 | 300 | 36 |
| Halibut | 500 | 290 | — |
| Eel | 250 | 280 | 18 |
| Red Snapper | 280 | 280 | 14 |
| Sengarat | 350 | 280 | — |
| Bass | 350 | 250 | — |
| Bowlfish | 160 | 150 | — |
| Seahorse | 350 | 100 | — |
| The Old Pike | 1,000 | 80 | 25 |
| Angelfish | 160 | 62 | — |
| Bluegill | 150 | 62 | — |
| Needlefish | 130 | 60 | — |
| Yellow Boxfish | 160 | 53 | — |
| Sea Urchin | 100 | 52 | 16 |
| Sunfish | 1,500 | 50 | — |
| Catfish | 200 | 46 | — |
| Clownfish | 140 | 46 | — |
| Goldfish | 50 | 24 | — |
| Perch | 75 | 18 | — |
| Triggerfish | 100 | 18 | — |
| Salmon | 75 | 14 | — |
| Foot Snail | — | 12 | — |
| Goby | 40 | 12 | — |
| Pike | 80 | 12 | — |
| Cod | 50 | 10 | — |
| Lobster | 85 | 9 | — |
| Rock Crab | 70 | 7 | — |
| Mackerel | 40 | 6 | — |
| Gar | 40 | 5 | 8 |
| Seagull | 30 | 5 | — |
| Shrimp | 12 | 5 | — |
| Leech | — | 4 | — |
| Piranha | 5 | 4 | 15 |
| Brown Crab | 15 | 3 | — |
| Clam | — | 1 | — |
Three things this table makes obvious:
- The money tier is tiny and brutal — nine creatures account for nearly all serious income, and six of them are boss-summons rather than random casts
- Sunfish is a trap stat line — 1,500 HP for $50 base value; fight one only for the Fishipedia log, never for profit
- Bing Bong hits harder than anything else in the water — 75 damage per hit, double any shark; do not melee it
Base values scale with a hidden weight roll at catch time (a Gaussian distribution centered on 1.0×), and cooking multiplies them by 1.5× — our money farming guide runs the full math on turning these base prices into actual income. Want the number for a specific fish without the arithmetic? The fish value calculator computes the exact sell price for any creature.
Official source: How to Fish on Steam — the 54 creature entries, their health pools and base values are read from the shipped game files for app id 4001890, not from community estimates.
Patch 1.0.12: What Changed in the Water
The newest build as of September 22, 2026 is 1.0.12, released September 4. Three of its changes affect fishing itself:
| 1.0.12 change | Effect on a fishing route |
|---|---|
| Piranha rebalanced | The Giant Piranha summon (Leech Bait, $1) was retuned. The official notes publish no before/after values, so treat the 2,500 HP figure in the table above as pre-patch and re-measure your kill time before building a farming circuit around it. |
| Tuna slightly nerfed | The Tuna (6,000 HP, 40 contact damage) came down a notch, with the same no-numbers caveat. The $1,200 Professional Boss Lure is still the only way to force the fight. |
| Item speed cap | Loot no longer flies out of reach when you take a hit. For zone routing this is the quiet win of the patch: high-value catches and knocked-loose drops stay where you can pick them up instead of sailing away. |
Nothing in 1.0.12 added or removed a species — the 54 entries on this page are still the complete list. The same notes call 1.0.12 "most likely the last bugfix patch" before the studio moves to content updates, so any new fish would arrive with that content drop rather than a hotfix.
Official source: How to Fish patch 1.0.12 notes — "Rebalanced piranha", a small tuna nerf and an item speed cap, published September 4, 2026.
Lighthouse Island: The Starter Pool
The tutorial rock teaches the basics on small bodies:
- Clams — shoreline pickups, not rod catches; they feed you and fund the keeper economy
- Small shallow species — die to fists, sell consistently, spawn on the free lure
- Golden Shad — the first rare worth hunting: gold ripple, Grubs bait (dig the dry sandy areas), cast from the far end of the wooden docks toward deep open water
- Mechanical Octopus — deep blue/gold ripple near the northern rocky overlook, takes a Heavy Metal Lure from the starter shop, targets swirling foam beneath the cliffs
Both rares fight far harder than their size suggests. The Golden Shad punishes continuous reeling; let it run, let tension settle, then pull.
Forest Island: Pikes, Salmon and Sunfish
The Forest's waters upgrade the table to mid-tier bodies — pikes, salmon and sunfish per TposeGaming's walkthrough — all reachable with the better rod tiers and starter-plus lures. The five leeches collected for the girl's quest convert into special bait that improves hook rates here.
This is also where depth zoning starts mattering: mid-distance casts pull different species than shoreline flips, and trick-shot kills on the bigger bodies start multiplying sale values.
Desert Island: Tropical Stock
Tropical waters reshuffle the pool again. Standard and boss-tier lures both earn their keep here; the shark (grill master's party order) and the endangered creature (Tourist's delivery) are the two named targets the quests demand. The Blue Shark encounter patrols these waters as a combat check between shopping trips.
Rocks Island and Beyond
The Rocks shift toward heavy-bodied species that pair with the Sniper Rifle era of your run. Trick-shot kills here are among the most profitable actions in the game — per TposeGaming, 360 no-scopes start printing money once multipliers stack on cooked sales.
One guide documents deeper challenge zones — waterfall pools with legendary trout taking Special River Lures, deep channels holding perch over grubs and minnow lures, and reef systems with seapost landmarks stocking high-value aggressive species — alongside a Giant Pufferfish variant that takes swamp lures or leeches. Zone names vary between guides; verify in-game before committing a farming circuit.
Boss Creatures Are Catchable Too
Several bosses double as fishing summons — the Spider Crab arrives via Empty Beer Can lure, the Terrorizing Bird via a tuna laid on grass — and their drops are quest trophies, not vendor stock. Our boss guide separates what to kill from what to keep.
The Line-Tension Technique
Big bodies share one fight mechanic: line tension. Reel constantly and the bar climbs until the line snaps; the fix is rhythm:
- Pull while the fish is calm
- Stop winding when tension climbs into danger
- Let the fish run itself out
- Resume pulling once it settles
Rocks, dock supports and shallow ground multiply snap risk — position yourself with clear casting angle and room behind you before hooking anything gold-rippled.
Building a Per-Session Fishing Route
Random casting wastes sessions. A route turns the same minutes into coverage:
- Pick one target gap from your Fishipedia or wallet plan — a species, a rare variant or a coin quota
- Match bait before leaving the shop, not at the waterline
- Hit two zones maximum per session — one volume spot, one premium spot
- End at a grill so everything cooks before selling
Co-op crews can split the route: four players covering four zones log a whole island's table in one sitting, then regroup to compare gaps. Player-posted ripple maps and route screenshots also pile up on the Steam Community guides hub if you want a second opinion before committing an hour to one zone. The shared wallet makes pooling sale proceeds natural, and comparing notes on which zones produced which ripples builds a map no single player could chart alone.
Species Logging Meets the Fishipedia
Every cast is also a collection opportunity. The Fishipedia logs each species you land, and players who fish routes deliberately log tables that random players chase for weeks. Three logging habits cost nothing:
- Check the log after every new species before selling — confirmation takes a second, re-catching a species for the log takes an island trip
- Note which bait produced unusual entries; recipes beat luck when hunting variants later
- Treat boss-adjacent waters as their own zone — several species only spawn where bosses patrol
Completionists should read our Fishipedia checklist next; everyone else should at least know which island pools they have already cleared before planning money-farming routes, because unlogged species are unlogged income.
FAQ
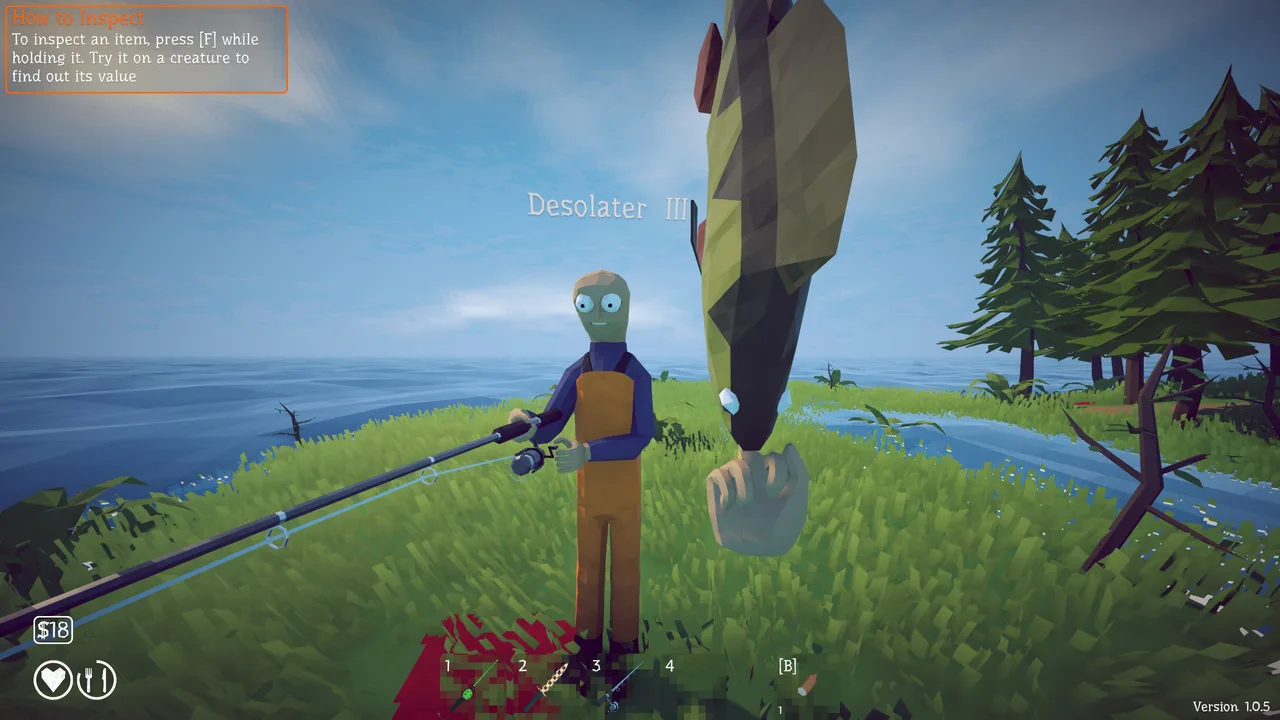
How many fish are in How to Fish?
The game contains 54 creature entries: 43 regular species across the five islands plus 11 boss-tier creatures. Nine of them carry endangered flags, per the Fishipedia's completion requirements.
What bait catches rare fish?
It depends on the target: Grubs for dock-side rares, Heavy Metal and river-specific lures for others. Match the lure to the ripple — gold means the premium tier.
Why does my line keep snapping?
Constant reeling. Alternate pulling with releasing pressure, especially around rocks and docks where a strong fish can drag the line into snappers.
Where are the endangered fish?
Scattered across all five islands rather than pooled in one zone, and each one needs a specific bait tier. The endangered creatures guide lists all nine with island, depth, bait and sell value.
Related Guides
Five pages continue where this one stops — the flagged creatures, the lure tiers, the variant hunt, the completion log and the first-session route:
More How to Fish Guides
Guide to How to Fish achievements: 360 No Scope, Terrorizing Bird, the one-hour speedrun and a two-run structure for completing every family efficiently.
Every quest chain in How to Fish: clam economy, Beer Can summon, leech delivery, shark feast, endangered fish, tuna offering and the Scientist volcano finale.
Every bait and lure in How to Fish: the free starter, $1 Hotdog Lures, Grubs, Heavy Metal, river and swamp specialty lures and boss lures with tier matching.
How to find and beat Bing Bong, the secret boss on Island 3: the $350 coconut summon, ranged-only fight, and what it drops.
Boat upgrades in How to Fish explained: engine and storage parts, the permanent radar mount, why boats come last in purchase orders and when speed pays off.
How to Fish has no console build, so there is nothing to cross: Steam PC, Deck and GeForce NOW players share the same 8-player lobbies. Co-op facts for 2026.
Desert Island guide: the grill master's shark, the tourist's endangered creature, SMG attachment shopping, and beating the Pufferfish.
How to get drip rainbow creatures in How to Fish: what they are, where they spawn, how the Island 4 slot machine turns them into legendary weapon skins.