
How to Fish Tuna: the $1,200 Professional Boss Lure, the 1.3% $50 lure gamble, 6,000 HP, 40 contact damage, and why the Albatross needs the body.
How to Fish Tuna: The $1,200 Boss That Becomes Bird Bait
The Tuna is the priciest guaranteed boss summon before the endgame, and the game immediately asks you to give it away. A Professional Boss Lure costs $1,200 in the Island 4 shop and summons a Tuna on every cast, the fight is a 6,000 HP war of attrition against 40 contact damage, and the body is worth $2,000. Then you lay that $2,000 fish on the grass so a 7,800 HP bird will land next to it.
What you need to know up front:
- Guaranteed summon: Professional Boss Lure, $1,200, Island 4 shop, 100% Tuna
- Cheap gamble: Professional Lure, $50, 1.3% chance per cast
- Stats: 6,000 HP, 40 contact damage, $2,000 base value
- Timer: 180 seconds, and the Tuna jumps harder than anything else in the water
- Real job: it is the summon item for the Albatross, the Island 4 story boss
How to Summon a Tuna
| Lure | Cost | Where to Buy | Tuna Chance | Bite Time |
|---|---|---|---|---|
| Professional Boss Lure | $1,200 | Island 4 shop | 100% | 1.0 to 2.0 s |
| Professional Lure | $50 | General shop stock | 1.3% | 1.0 to 2.0 s |
The Professional Boss Lure is a single-target lure. It hooks a Tuna and nothing else, every time, and the cast destroys it. Cast from the Rocks shoreline or the deck of your boat and the bite lands within two seconds.
The $50 Professional Lure spreads its 1.3% across a crowded table: six species at 12.8%, Flying Fish and Eel at 6.4%, Voxel Fish and Dripper at 3.8%, and Seahorse tied with the Tuna. Ten other fish outrank it.
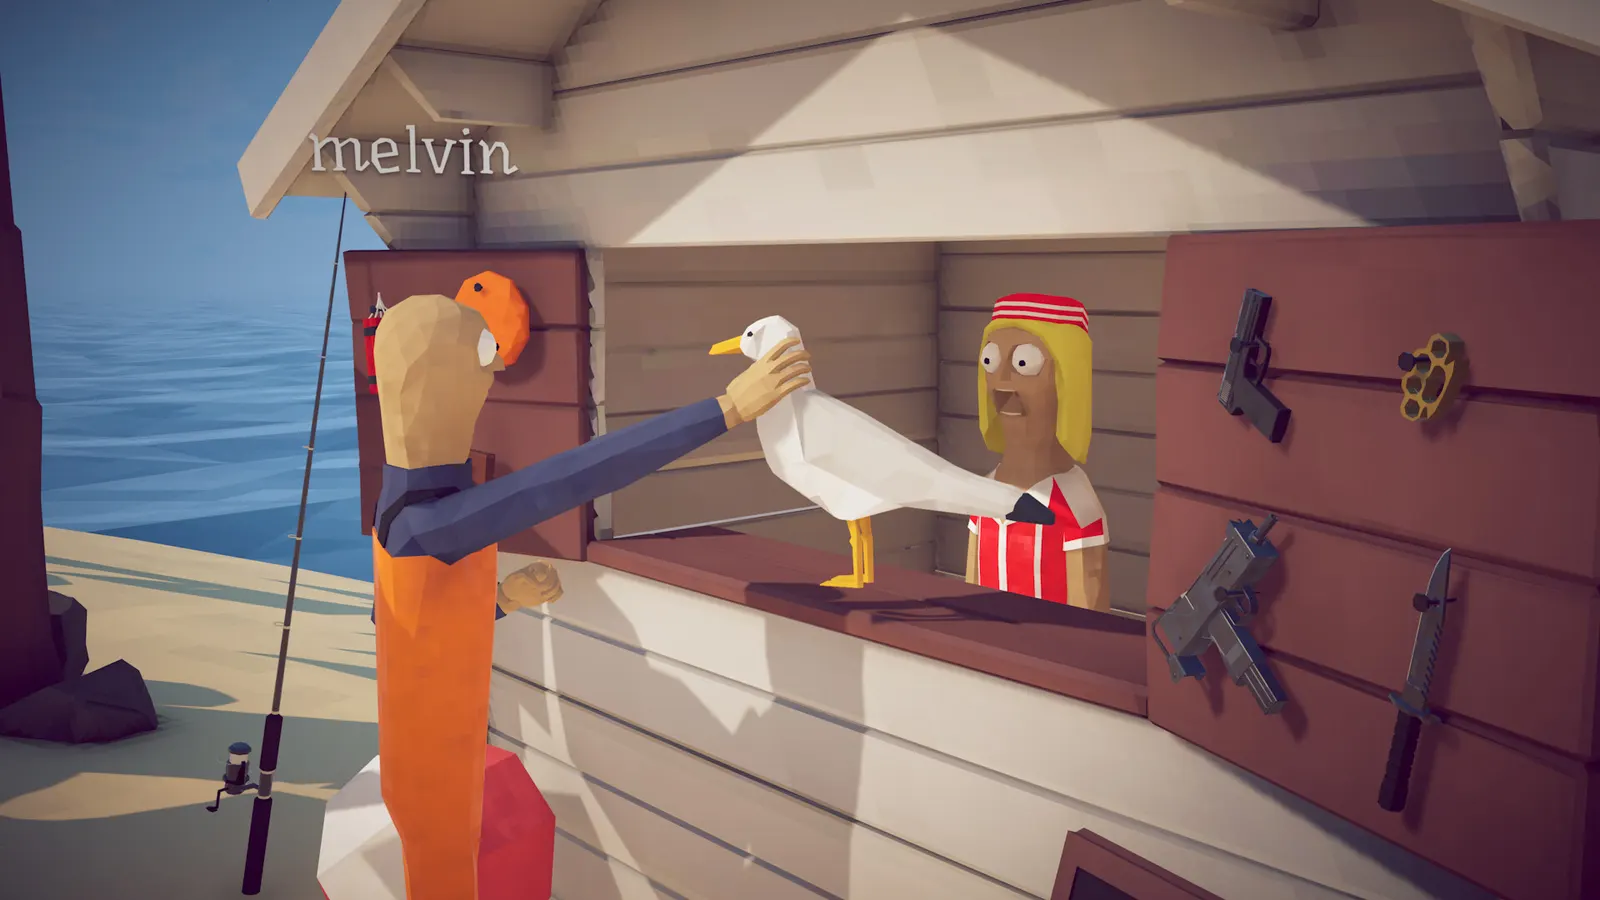
Restock in person before you sail out. The Island 4 shop keeps the professional tier next to the Sniper Scope and the Suppressor.
Our bait tier guide lists every lure weight in the game. The Tuna's 1.3% is the thinnest slice on the professional table, tied with the Seahorse.
Tuna Stats
| Stat | Value | What It Means in Practice |
|---|---|---|
| Health | 6,000 HP | More than double the Blue Shark, under a third of the Pufferfish |
| Contact damage | 40 | Tied with the Anglerfish as the hardest-hitting normal catch, behind Bing Bong's 75 |
| Base value | $2,000 | Third-best body value, behind the Goblin Shark ($6,200) and Bowhead Whale ($8,000) |
| Boss timer | 180 s | Three minutes for 6,000 HP, the same clock the Blue Shark runs on |
| Jump force | 30 | The highest jump value in the fish data |
| Food value | 100 fullness, 100 HP | A full heal if you eat it instead of selling it |
The timer is the fight. Three minutes for 6,000 HP is about 33 damage per second, before reloads and repositioning.
Shots to Kill a Tuna
Base damage values straight off the weapon ladders:
| Weapon | Base Damage | Shots to Kill 6,000 HP |
|---|---|---|
| Knife | 16 | 375 |
| Pistol | 25 | 240 |
| Shotgun | 3 per pellet | 2,000 pellets |
| SMG | 24 | 250 |
| Assault Rifle | 40 | 150 |
| Sniper Rifle | 200 | 30 |
A maxed SMG at 70 damage needs 86 shots for 6,000 HP: 6,000 divided by 70 is 85.7, so the 86th shot lands the kill. With a fully upgraded SMG the clock is your only enemy; at base damage the same gun needs 250 shots, which barely fits in 180 seconds. The best weapon guide covers the upgrade path that closes the gap.
Do not start this fight with a base-tier rifle or a half-empty magazine. The attempts that hurt are the ones where the Tuna escapes with 300 HP left and the $1,200 lure is already gone.
The Fight: Solo
The Tuna's whole kit is movement. It jumps, it thrashes, and it closes distance faster than any fish before it, which makes standing still the most expensive habit you can bring.
What works solo:
- Fight from the boat, not the water. The deck is a stable firing platform and it keeps you above the jump arc.
- Fire in bursts. It changes direction mid-jump, so long bursts mostly miss, and wasted ammo is wasted clock.
- Circle, do not retreat. Backing off gives it the straight line it wants.
- Keep the shore within reach. Open water gives up your platform and gains nothing.
- Eat if you drop low. The Tuna restores 100 HP when eaten, but not the one you are fighting.
Patch 1.0.12 shipped a small Tuna nerf alongside the piranha rebalance, with no numbers attached. The fight is slightly softer than launch, and there is no published figure for how much.
Official source: How to Fish patch notes on Steam — the 1.0.12 notes list the Tuna rebalance and call the patch most likely the last bugfix release before content work.
The Fight: Co-op
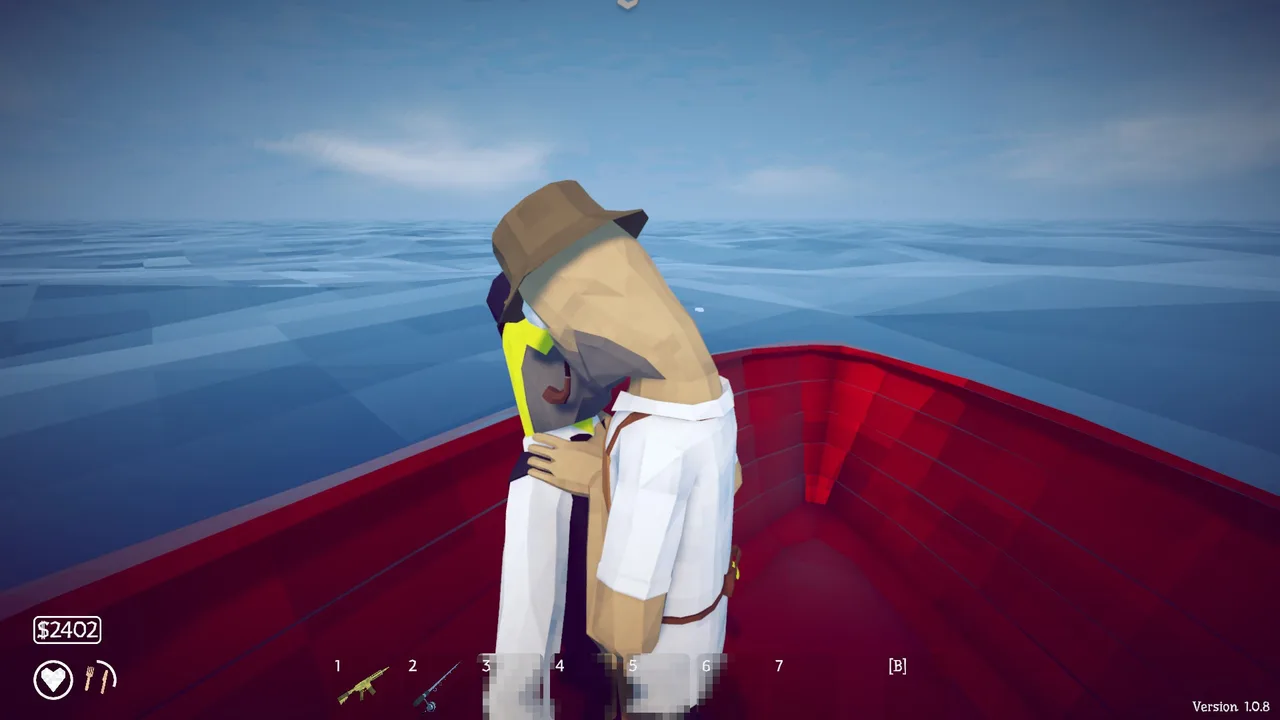
With two or more players the Tuna stops being a damage check and becomes a scheduling problem. Three minutes for 6,000 HP is comfortable for two and easy for four, but only if the group spreads out. Stacked players eat the same contact hit and reload at the same moment, which turns a winnable timer into a wipe.
The efficient split is one player on the boat holding its attention while the rest fire from the shore or a second deck. Revives matter more than DPS: a downed player costs a $1,200 lure if the timer runs out first. The co-op guide covers lobby sizes and shared wallets.
Official source: How to Fish Steam Community guides — the community hub for player-written boss breakdowns and walkthroughs.
What It Drops and What It Is Worth
Kill the Tuna and the body is the entire drop:
- $2,000 base value before weight and cooking multipliers
- 100 HP of healing if you eat it instead of selling it
- No named trophy and no separate meat item — the item data lists no Tuna trophy, unlike the Albatross Head or the Spidercrab Shell
Cooking moves the payout. Raw, the Tuna sells for about $2,000. Cooked, it reaches roughly $3,000. Burnt, it collapses to about $200, and that $2,800 swing is the reason money-making plans treat the grill as a skill check.
The Real Job: Lay the Tuna on the Grass
The Tuna is not really a boss. It is the key to the Island 4 story boss. Take the Tuna you just caught, drop it on dry ground, and the Albatross — the Terrorizing Bird — comes down for it.
- Albatross health: 7,800 HP on a 300-second timer
- Albatross contact damage: 0, so it fights with dive-bombs and grabs instead of body checks
- Albatross body value: $13,000 if you sell the kill
- Albatross Head: worth $0, because it is a quest trophy that trades for the Volcano coordinates
- AlbatrossMeat: $1,000, and it registers separately in the item data
That is the trade: $1,200 of lure and a $2,000 fish, handed over so a bird worth $13,000 can exist. The Terrorizing Bird guide covers the fight itself, and the boss guide shows where it sits in the twelve-fight lineup.
Two caveats. The game does not spell out whether the summon consumes the Tuna, so assume the body is spent and treat any later sale as a bonus. Also lay it on grass, not sand or dock: the bird triggers on dry land.
Do not sell the Albatross Head. Its worth reads as $0 because it is a quest item, and losing it means re-farming a $1,200 lure and a 6,000 HP fight for another one.
Is It Worth Farming the Tuna?
As a pure money loop, the arithmetic beats the Blue Shark's and still is not great:
| Line Item | Value |
|---|---|
| Professional Boss Lure | -$1,200 |
| Tuna sold raw | +$2,000 |
| Tuna sold cooked | +$3,000 |
| Net raw | +$800 |
| Net cooked | +$1,800 |
Cooked, that is about $1,800 per lure before weight rolls, which is real money next to the Blue Shark's $170. The catch is what you give up: the Tuna is also the only key to the Albatross, and the bird pays $13,000 plus the Volcano coordinates. Farming Tuna for cash means farming the same creature more often than the story needs, at three minutes and 86 maxed-SMG shots per attempt.
The $50 Professional Lure is worth understanding before you dismiss it. At 1.3% per cast you need about 53 casts for a coin-flip chance and roughly 77 for the expected first hit. If the lure dies only on its 25% loss roll and on a successful hook — the most generous reading of the mechanic — 53 casts burn about 13 lures, roughly $665. Cheaper than the guaranteed lure in expectation, far worse in variance: you can spend $665 and sail home with nothing but Halibut.
Treat the Tuna as a story gate, not a farm. Buy the guaranteed lure when the Albatross is on the critical path.
The Volcano island walkthrough picks up right after the bird, and the achievements guide tracks what the Island 4 chain adds. For the opposite fight, the Pufferfish boss guide covers an 18,000 HP tank on a five-minute clock.
Official source: How to Fish on Steam and the SteamDB build history — official store listing and patch tracking for the two-person studio at dazed.games.
FAQ
How do I summon a Tuna in How to Fish?
Buy the Professional Boss Lure for $1,200 from the Island 4 shop and cast into open water. The bite lands in under two seconds.
Can you catch a Tuna with the $50 Professional Lure?
Yes, at 1.3% per cast — about 53 casts for a coin-flip chance. Ten other fish share that table, so expect plenty of Halibut and Sengarat first.
How many SMG shots does it take to kill a Tuna?
A maxed SMG at 70 damage needs 86 shots for 6,000 HP. At base damage the same SMG needs 250, which barely fits in the 180-second timer.
How do I summon the Terrorizing Bird?
Catch a Tuna and lay it on the grass on Island 4. The Albatross lands for the fish, and its head trades for the Volcano coordinates.
Is the Tuna worth the $1,200 lure?
Cooked, it nets about $1,800 per lure, so it is a fair cash loop. Its better use is the Albatross: the bird pays $13,000 plus the Island 5 progression.
Related Guides
- Terrorizing Bird Guide — the 7,800 HP bird your Tuna buys you
- All Bait Tiers — every lure weight, including the 1.3% Tuna slice
- Boss Guide — all twelve boss fights and their summon costs
- Best Weapon Guide — the upgrade path to 86-shot Tuna kills
- Volcano Island Walkthrough — what the bird's head unlocks
More How to Fish Guides
How to Fish has no console build, so there is nothing to cross: Steam PC, Deck and GeForce NOW players share the same 8-player lobbies. Co-op facts for 2026.
Desert Island guide: the grill master's shark, the tourist's endangered creature, SMG attachment shopping, and beating the Pufferfish.
How to get drip rainbow creatures in How to Fish: what they are, where they spawn, how the Island 4 slot machine turns them into legendary weapon skins.
Dynamite does 200 explosion damage per stick in How to Fish — what that one-shots, how many sticks each boss needs, and the patch 1.0.11 self-damage rule.
The Fishipedia completion guide for How to Fish: logging every species, rare variant and drip entry with a checklist order that avoids wasted island trips.
Forest Island guide: the five-leech quest and special bait, where guns unlock, the girl's big yummy fish, and the Giant Piranha fight.
How to beat the Giant Piranha in How to Fish: the $1 Leech Bait summon chain, 2,500 HP solo tactics, and what patch 1.0.12 did and did not change.
Every island in How to Fish in unlock order — Lighthouse, Forest, Desert, Rocks, Military Volcano — with the boss trophies that gate each one.