
Boat upgrades in How to Fish explained: engine and storage parts, the permanent radar mount, why boats come last in purchase orders and when speed pays off.
How to Fish Boat Upgrades: What to Buy and When (Spoiler: Late)
The boat is How to Fish's most tempting money pit. Every island shop dangles engine parts and storage expansions while your gun rack sits underpowered — and because a faster boat feels like progress, players pour early cash into it constantly. Every economy guide that tested the ordering reached the same verdict: boats are comfort, weapons are income. Here is what each upgrade does and when buying it actually makes sense.
Official source: How to Fish is Dazed Games' co-op fishing sandbox, and the live build is documented on the official Steam store page with every patch note from launch through 1.0.12 on the official Steam news hub. Live version history and player counts are tracked on SteamDB.
This page only covers the boat. If you want the full purchase order across weapons, inventory slots, tools and attachments — and where the boat sits inside it — the general upgrades guide ranks all four upgrade systems against each other instead of treating the boat in isolation.
What the Boat Upgrade Tree Contains
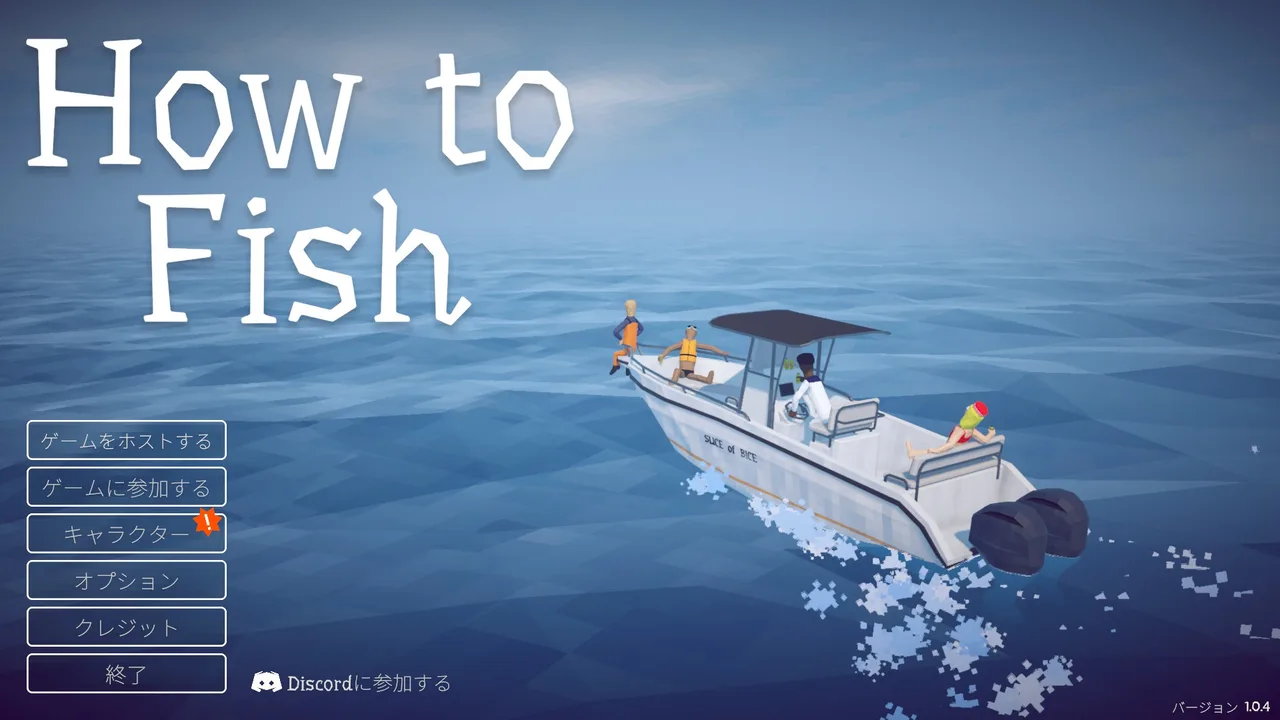
The boat system covers four practical categories:
- Engine/speed parts — faster crossings between islands
- Radar mount — permanently equips the radar so it stops consuming an equipment slot every sail
- Storage expansions — more inventory headroom for catches, bait stacks and boss trophies
- General outfitting — the catch-all tier that smooths late-game sailing
None of them increase income directly. That single sentence is the whole purchasing philosophy.
Two purchases on the tree have community-measured prices worth knowing before you shop, because the game itself never shows a running total: the first engine upgrade runs about $230 at the hut next to the old man on Island 2, and the Dual Motors tier on Island 4 comes in around $860. Those are player-reported numbers rather than data-mined constants, so treat them as approximate and expect them to move with a content patch.
Why Boats Come Last
Money in How to Fish is tight by design — shared across co-op crews, drained by ammo, gated behind bosses. Every dollar has an opportunity cost:
| Early Purchase | Alternative | Income Impact |
|---|---|---|
| Engine part ($$$) | Shotgun shells | Shells kill fish; speed kills nothing |
| Storage expansion | Attachment kit | Attachments shorten boss fights; storage shortens nothing |
| Cosmetic outfitting | Assault rifle fund | One of these beats the final boss |
Per Maingamers' purchase-priority analysis, the community-tested order runs radar → shotgun → ammo → assault rifle readiness → then boat. Per GamesHub's tips breakdown, the same logic holds: "upgrade your firepower before obsessing over your boat."
The Two Boat Purchases Worth Making Early(ish)
Two exceptions soften the rule:
1. The Permanent Radar Mount
The handheld radar works but must be re-equipped before every sail — and forgetting it mid-route wastes more time than the mount costs once you are island-hopping regularly. Per GamesHub, the mount makes hopping between islands "considerably less irritating." Buy it when crossing frequency makes the annoyance measurable, typically around the Desert-to-Rocks legs.
One prerequisite worth calling out: the handheld radar itself is a $10 pickup lying on the ground next to the Lighthouse on Island 1, not a shop item. Players leave island one without it constantly, and until you own it every coordinate an NPC hands you is inert — see the radar and coordinates guide for the exact spot and what each unlock actually reveals.
2. Storage Before Long Farming Circuits
If a session's plan is bulk fishing for the Fishipedia or trick-shot money loops rather than story progression, one storage tier pays for itself in fewer unloading stops. Story-first players can skip it entirely until post-game.
When Speed Finally Pays
Engine upgrades earn their keep in exactly two scenarios:
- Post-game circuits — completionist routes hitting multiple islands per session multiply every saved minute
- Co-op logistics — four players syncing across islands value fast regrouping
During the story run proper, the standard boat reaches every destination fine. The Military Volcano does not check your engine; it checks your attachments.
The Full Purchase Order (Community-Tested)
- Basic Fishing Rod ($3) → knife sharpenings → Radar ($10)
- Hotdog Lures ($1) as income allows
- Shotgun ($150) + shells
- SMG ($650) + compensator/suppressor
- Sniper Rifle ($3,800) at the Rocks tier — 200 base damage per shot, upgradable to 500
- Assault Rifle savings toward $20,000 (40 base damage, ladder to 100)
- Radar mount (when crossing often)
- Storage expansion (for farming circuits)
- Engine and cosmetic outfitting last
Boat Upgrades vs the Endgame Clock
The assault rifle fund gives boat purchases a natural deadline structure. Working backwards from the volcano:
- Islands 1–2: zero boat spending — the fund does not exist yet and every dollar delays the shotgun
- Island 3: radar mount becomes reasonable once Desert-to-Rocks crossings become routine
- Island 4: storage if farming circuits are planned; engine still waits
- Post-whale: the entire tree opens up, funded by a completed story and trick-shot loops with nothing left to save for
Squads running the numbers usually discover the full endgame-critical arsenal costs roughly $26,000 — $20,000 for the rifle plus its $5,800 damage ladder plus attachments and ammo buffer — which is the number every early boat purchase quietly competes against. Framing it that way ends most onboard debates faster than any guide text.
What Boat Upgrades Do NOT Do
The money-pit argument settles faster once you list what boat spending explicitly cannot buy, because the list is longer than most players assume:
- It does not raise fish prices. Sale value works out as base value × weight roll × cooking multiplier × casino multiplier × killscore multiplier. The boat appears in none of those terms — a Dual Motors rig and a stock hull sell the same Tuna for the same money.
- It does not unlock islands. Progression is gated by boss-trophy hand-ins to named NPCs, not by travel range. The standard boat reaches every destination in the game, the Military Volcano included.
- It does not unlock shops or bait tiers. Shop stock is tied to island discovery and bait tiers are tied to your wallet, not your engine.
- It does not log Fishipedia entries. Every entry comes from a catch or a ground pickup, and both happen at the waterline.
- It does not help the final boss. The Mutated Bowhead Whale checks your rifle, your damage ladder and your attachments. Engine tier never enters the fight.
- It does not improve survivability. No boat part adds health, damage resistance or ammo capacity.
The permanent radar mount is the one boat-tier purchase that is functional rather than cosmetic — it frees the equipment slot you were re-equipping before every sail. Even that changes no outcome; it changes how much time you spend in a menu.
Everything else on the tree is time and comfort. That is not worthless in a game built around long post-game circuits, but it is by definition a purchase you make with surplus money rather than with the assault-rifle fund.
What the Boat Actually Is
It helps to name the boat's job honestly: it is a taxi between shops. It does not fight bosses, multiply sales, or log Fishipedia entries — every economic outcome in the game happens on land or at the waterline. Framing purchases against that job clarifies instantly: upgrades that make the taxi faster or roomier serve comfort; upgrades that arm the passenger serve income.
None of this means boats are bad. Post-game completionists live on the water, and a maxed-out rig turning five crossings per session into quick hops genuinely transforms the experience. The mistake is sequence, not substance — comfort purchased with income money during the story run delays the very unlocks that make comfort affordable.
Boat Politics in Co-op
Four players, one boat, one wallet: boat debates are inevitable. The workable compromise most squads settle on is the earmark system — weapon and ammo spending comes from the shared pool unopposed, while boat-tier purchases wait until the assault-rifle fund hits its target. Working backwards, the endgame arsenal costs roughly $26,000 with the rifle's damage ladder, attachments and ammo buffer; that number is what every early engine part quietly competes against, and naming it ends most onboard debates faster than any argument.
The Radar Mount Math
Is the permanent mount worth buying during the story? Count your crossings. The handheld radar must be re-equipped before each sail; forgetting it means discovering the mistake mid-route and eating a round trip's worth of wasted minutes. Once a run is crossing between islands several times per session, those minutes add up to real money in unspent selling time.
The break-even is personal, not fixed: players who batch their island work (one island per long session) feel the friction less than players who hop constantly for quests and farming loops. If you are re-equipping the radar more than twice per session without thinking about it, buy the mount — that is exactly the failure mode it eliminates.
FAQ Note for Completionists
Achievement hunters should check whether any goals require boat tiers before deferring purchases — method-of-travel achievements are rare but exist in this genre, and a post-story wallet covers them painlessly either way.
Boats, Islands and the Money Behind Them
Upgrading the boat is a money decision as much as a mechanic — every engine tier competes with guns, bait and radar for the same wallet. For the income side of that trade-off, our money farming guide runs the numbers on funding each upgrade, and the all islands unlock guide shows exactly which NPC hands you the next boat tier.
FAQ
Should I upgrade my boat first in How to Fish?
No. Weapons convert into kills and sales; boat parts convert into comfort. Every guide converges on weapons-before-boat because a better gun pays rent immediately.
What does the radar mount do?
It permanently equips the radar, ending manual re-equipping before every sail. It is the one boat-tier upgrade worth buying during the story if island-hopping has become routine.
Do boat upgrades affect the final boss?
No — the Magma Whale fight checks your assault rifle and attachments, not your engine. Arrive armed, not fast.
More How to Fish Guides
How to find and beat Bing Bong, the secret boss on Island 3: the $350 coconut summon, ranged-only fight, and what it drops.
How to Fish has no console build, so there is nothing to cross: Steam PC, Deck and GeForce NOW players share the same 8-player lobbies. Co-op facts for 2026.
Desert Island guide: the grill master's shark, the tourist's endangered creature, SMG attachment shopping, and beating the Pufferfish.
How to get drip rainbow creatures in How to Fish: what they are, where they spawn, how the Island 4 slot machine turns them into legendary weapon skins.
Dynamite does 200 explosion damage per stick in How to Fish — what that one-shots, how many sticks each boss needs, and the patch 1.0.11 self-damage rule.
The Fishipedia completion guide for How to Fish: logging every species, rare variant and drip entry with a checklist order that avoids wasted island trips.
Forest Island guide: the five-leech quest and special bait, where guns unlock, the girl's big yummy fish, and the Giant Piranha fight.
How to beat the Giant Piranha in How to Fish: the $1 Leech Bait summon chain, 2,500 HP solo tactics, and what patch 1.0.12 did and did not change.