
Kill the Spider Crab, hand its Shell to the Lighthouse Keeper, and he gives you the Boat Keys. Here is the whole first boss fight and the boat unlock flow.
How to Fish Spider Crab: Beat the First Boss and Get Your Boat Keys
The Spider Crab is the first boss in How to Fish, and it is less a fight than a tutorial in disguise: every mechanic that governs the other four bosses — summons, self-stun punish windows, escape timers, trophy hand-ins — shows up here first in gentle form. It also guards the single most important item in the game: the boat keys. No crab, no archipelago.
How to Summon the Spider Crab
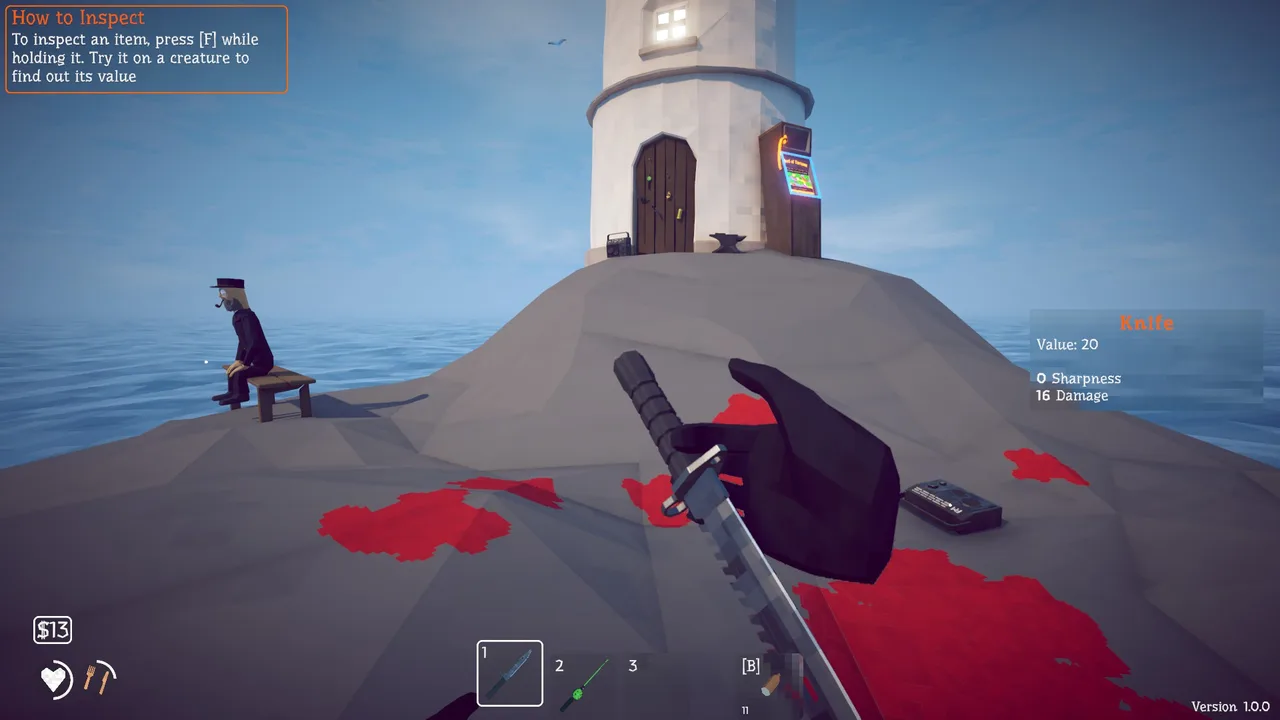
The crab does not spawn on its own. The sequence runs through the Lighthouse Keeper:
- Progress the keeper's early requests until he hands you a Beer
- Feed the Beer to the Lighthouse Keeper — he drinks it and gives you back the Empty Beer Can
- Use the Empty Beer Can as a lure at the summon spot
That last step surprises people: the trigger item is trash on paper. An empty can summons a giant crustacean. If the crab is not appearing, the problem is almost always a skipped step with the keeper — not your gear. Per Whisperofthehouse's boss breakdown, checking the quest trigger before buying more weapons is the correct instinct for every boss in the game.
The Fight: Bait, Sidestep, Punish
Loadout: max-sharpened knife ($45 plus the first three anvil upgrades — $14, $28, $36 — taking it from 16 to 22 damage) or brass knuckles ($24). Guns do not exist yet on Lighthouse Island — melee is not the budget option here, it is the only option.
The Spider Crab's AI loop is short and exploitable:
- It charges straight at you. Hold your ground, sidestep at the last moment
- When the charge misses, it stuns itself. This is your window: two to four hits, three being the comfortable number
- Back off before it recovers. Greed is the main killer — squeezing a fourth hit into a three-hit window is how health bars vanish
- Repeat. Two or three clean cycles end the fight
Two environmental hazards deserve respect. First, the crab tries to drag you toward the water — if a grab connects near the shoreline, jump or sprint uphill immediately. Second, per TposeGaming's full guide, kiting it around the rocks and dock keeps its charge paths predictable and gives you landmarks for spacing.
Do not chase the crab when it repositions. Running after it wastes more time than waiting for the next charge — and there is always a next charge.
Spider Crab Stats
Here are the encounter's exact numbers so you know what you are signing up for:
| Stat | Value |
|---|---|
| Base health pool | 750 HP |
| Escape timer | 180 seconds (the shortest of any boss) |
| Contact damage | none — the crab hurts you through grabs and drags, not contact ticks |
| Sell value if you keep the kill | $10,000 before weight/cooking multipliers |
| Base weight | 18 kg, rolled randomly each spawn |
Shots to Kill: The Exact Number
Using base-damage weapons, killing the Spider Crab takes:
| Weapon | Shots to Kill |
|---|---|
| Pistol (25 dmg) | 30 |
| Shotgun (3 per pellet) | 250 |
| SMG (24 dmg) | 32 |
| Sniper Rifle (200 dmg) | 4 |
| Assault Rifle (40 dmg) | 19 |
| Knife (16 dmg) | 47 |
Check how many shots YOUR current weapon needs before summoning: the boss kill calculator pairs real HP pools with the full weapon ladders.
Upgraded weapons cut these proportionally — a level-4 Sniper (240 dmg) kills it in 4 shots instead of 4. Full ladders are on our weapons unlock guide, and every base value is from the fish stats table.
That 180-second timer is the real stat to respect: the Spider Crab gives you half the clock of later bosses, which is why cautious poking loses fights here that the same playstyle would survive on Island 2. Aggression during stun windows is not a style choice — it is the time limit talking.
Every fish you catch — bosses included — spawns with a random weight multiplier between 0.25x and 1.75x, and its sell price scales with that roll. Two Spider Crabs are never worth exactly the same.
The White Bar: The Escape Timer
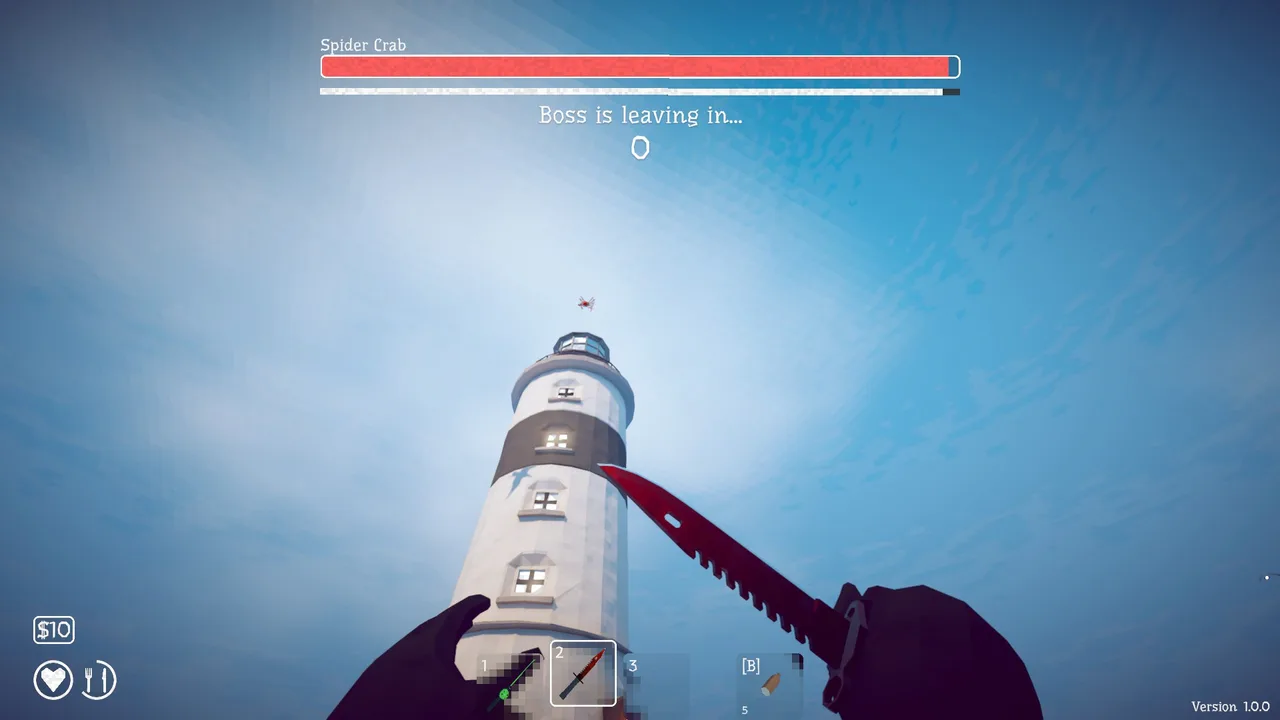
Underneath the Spider Crab's health pool sits a white bar. It drains continuously during the fight; empty it before the bar empties, or the crab escapes and must be re-summoned from scratch with another Empty Beer Can cycle. Every boss in How to Fish carries the same timer, so the discipline you build here — burst damage during windows instead of cautious poking — transfers directly to the Giant Piranha, Pufferfish and beyond.
After the Kill: Shell In, Boat Keys Out
Kill the crab and keep everything unusual. The drop that matters is the Spider Crab Shell — a quest object, not vendor trash. Destructoid's walkthrough notes the crab's meat also feeds the keeper's first-quest completion; either way, the hand-in direction is the same: back to the Lighthouse Keeper.
He rewards you with the boat keys, and next to him sits something many players walk past: the Radar pickup ($10 tier equipment that turns future NPC coordinates into actual destinations). Take both, board, and sail toward the first blip — Lighthouse Island is officially over.
Sold the shell? The boat keys are locked behind it. You will need to re-summon the crab with another beer and kill it again. Hold every uniquely named drop until an NPC confirms it is spent.
Boat Keys: How to Get Them After the Spider Crab
Boat Keys are the reward for handing the Spidercrab Shell to the Lighthouse Keeper, and they are the only way off the starting island. The section above explains why the hand-in matters; this is the order of operations, the item involved at every step, and what to do when the keys do not appear.
| Step | What you do | Item involved | Cost |
|---|---|---|---|
| 1 | Finish the keeper's early requests until he hands you a Beer | Beer | quest reward |
| 2 | Feed him the Beer and take the empty can back | Empty Beer Can | free |
| 3 | Equip the can as bait and cast at the summon spot | Empty Beer Can | $8 to replace |
| 4 | Kill the crab and loot the body | Spidercrab Shell | 750 HP, 180-second timer |
| 5 | Hand the Shell to the Lighthouse Keeper | Spidercrab Shell | quest hand-in |
| 6 | Collect the reward and pick up the Radar beside him | Boat Keys + Radar | Radar is the $10 tier |
Three details about this chain are worth saying plainly:
- The Shell has no sell value. In the game files the Spidercrab Shell is worth $0 — it is a named quest object, not vendor trash. There is nothing to gain by selling it and a whole island chain to lose.
- The Radar is not optional. Coordinates do nothing while the radar sits in your bag; it has to be equipped before you sail, or the first crossing ends with you staring at an empty horizon. The radar and coordinates guide covers the slot juggling in detail.
- The keys open the boat, not a door. Once you have them, walk to the dock, board, and take the first blip the radar shows you. That route is the Forest, and it starts the island chain.
If the keys do not appear, the cause is almost always unfinished keeper business rather than a bug:
| Symptom | Likely cause | Fix |
|---|---|---|
| No keys after the hand-in | an earlier keeper request is still open | finish his outstanding requests, then talk to him again |
| Keeper will not take the Shell | the hand-in only triggers once his earlier requests are complete | finish the open request, then return to him |
| Boat will not move | no destination selected, or the radar is not equipped | equip the radar, then pick a blip at the helm |
| Shell is missing from the inventory | sold, cooked or eaten by accident | re-summon the crab with another $8 Empty Beer Can and kill it again |
The crab is re-farmable, so nothing here is unrecoverable — it just costs an $8 empty can and another 180-second timer. Check your inventory before you touch the sell menu.
The $10 Radar Next to the Keeper
The Radar lying on the ground beside the Lighthouse Keeper is the most-missed pickup on the starting island, and it is listed at the $10 tier — cheaper than the shotgun shells most players buy in the same trip. The usual run goes wrong here: kill the crab, take the keys, sprint to the dock, sail into an empty horizon, and only then realise coordinates are inert while the radar is still sitting in the bag.
What that looks like from the helm:
| What went wrong | What you see | What to do |
|---|---|---|
| Radar never picked up | Open water, no marker, no blip at the helm | Sail back, take the radar from beside the keeper, pick a destination at the helm |
| Radar picked up but not equipped | Same empty horizon | Equip it, then choose the blip |
| Destination never selected | The boat idles at the dock | Select the first blip before casting off |
Three things make the detour worth taking before you leave the island:
- It is on the ground, not in a shop menu. Nothing in the shop reminds you it exists, so the sweep has to be deliberate.
- It unlocks the whole traversal loop. Coordinates from every later NPC are dead text until the radar is equipped, which is why the radar and coordinates guide covers it before the island chain does.
- It can be mounted on the boat permanently later, so the $10 is never wasted — just spent early. The upgrades guide covers where the radar sits in the overall purchase order.
There is a habit buried in this item too: the starting island is full of small, unmarked pickups that no marker points at. The secrets and easter eggs guide lists the ones players most often sail past.
Pick the radar up in the same trip as the boat keys, before you talk to anyone else or open any menu. It is the difference between sailing toward a destination and sailing toward nothing.
Common Mistakes
- Forcing stuns. There is no parry button. The opening comes from the crab's own missed charge — aggression before the window is how early deaths happen
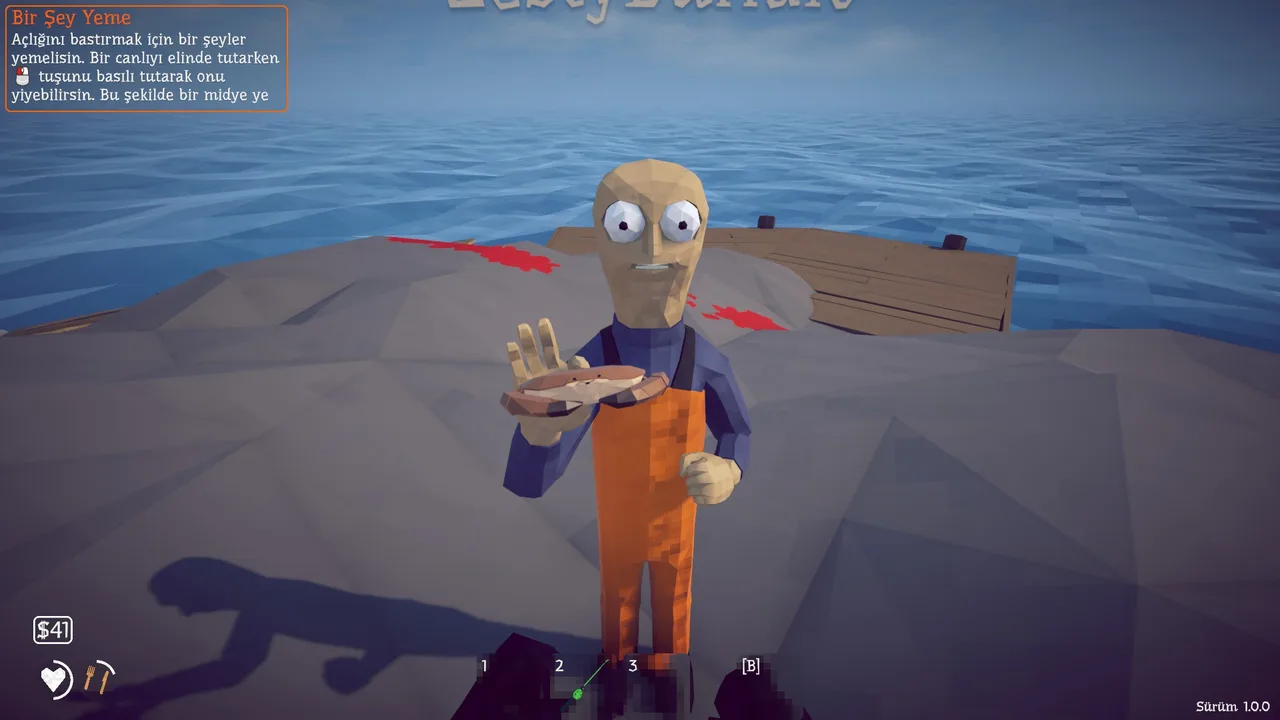
- Fighting hungry. Eat a clam before the summon; low food regen sabotages longer fights later and starts bad habits here
- Ignoring position. Fighting with your back to open water invites the drag; fighting against the dock wall corners you
- Selling the shell. See above. It is the entire point of the fight
Speed and Efficiency: The One-Cycle Mindset
Experienced players clear the Spider Crab in under two minutes because they respect one insight: the crab's charge is on a rhythm, not a reaction. Stand at mid-range, wait for the wind-up, step, punish, and walk calmly back to mid-range. Players who sprint constantly exhaust hunger, misjudge spacing, and drag fights past the point where a mistake becomes fatal.
Efficiency also matters for the reward economy. Every re-summon costs another Beer from the keeper's chain — cheap in coins, expensive in time. A clean first kill keeps the whole opening hour on schedule: clams to rod to knife to crab to boat keys without a single wasted trip.
For crews, the crab doubles as a teaching fight. Let the newest player take the punish windows while veterans call the sidesteps; every later boss assumes the whole squad has internalized this rhythm, and Island 2's shop bill leaves no budget for relearning it the hard way.
Loot Discipline: What the Drop Teaches
The Spider Crab's rewards set the pattern for every boss inventory decision ahead. The shell is the headline, but the kill also yields meat worth feeding to the keeper for quest credit. The habit to build: after every boss, stand still for ten seconds and read every item name before touching your sell menu. Uniquely named items wait; ordinary meat moves.
That ten-second pause sounds trivial and is not. Most progression freezes reported by new players trace back to an autopilot sell-all moment right after a fight, adrenaline still high, inventory cleared indiscriminately. Lighthouse is where the reflex gets installed cheaply — a re-summoned crab costs one beer here, not one volcano expedition later.
FAQ
What do I do with the Empty Beer Can?
Use it as a fishing lure at the summon spot — it is what makes the Spider Crab spawn. Without it, no boss appears.
Can you beat the Spider Crab with fists?
Technically possible and deeply miserable. A sharpened knife turns a ten-minute slog into three clean punish cycles.
Why won't the boat keys appear after killing the crab?
You most likely sold the Spider Crab Shell, or have not handed the drop to the Lighthouse Keeper yet. Check your inventory first — the game does not warn you.
Official Sources
Official source: How to Fish on Steam — HP pools, escape timers and drop data are read from the shipped game files; patch changes are published here.
- How to Fish on Steam — official store page and patch feed
- How to Fish news hub — every official announcement, newest first
- Dazed Games — the two-person studio behind the game
Related Guides
- All Bosses Guide — every boss in order, with health pools
- Radar & Coordinates Guide — how to turn the first blip into a destination
- Lighthouse Island Guide — the starting island in full
- Beginner Guide — clams to rod to knife before you summon anything
- Giant Piranha Guide — the very next boss, and the first one that bites back
- Upgrades Guide — what to buy after the boat keys, and in what order
- Secrets & Easter Eggs — the unmarked pickups most players sail past
More How to Fish Guides
How to Fish has no console build, so there is nothing to cross: Steam PC, Deck and GeForce NOW players share the same 8-player lobbies. Co-op facts for 2026.
Desert Island guide: the grill master's shark, the tourist's endangered creature, SMG attachment shopping, and beating the Pufferfish.
How to get drip rainbow creatures in How to Fish: what they are, where they spawn, how the Island 4 slot machine turns them into legendary weapon skins.
Dynamite does 200 explosion damage per stick in How to Fish — what that one-shots, how many sticks each boss needs, and the patch 1.0.11 self-damage rule.
The Fishipedia completion guide for How to Fish: logging every species, rare variant and drip entry with a checklist order that avoids wasted island trips.
Forest Island guide: the five-leech quest and special bait, where guns unlock, the girl's big yummy fish, and the Giant Piranha fight.
How to beat the Giant Piranha in How to Fish: the $1 Leech Bait summon chain, 2,500 HP solo tactics, and what patch 1.0.12 did and did not change.
Every island in How to Fish in unlock order — Lighthouse, Forest, Desert, Rocks, Military Volcano — with the boss trophies that gate each one.