
Dynamite in How to Fish costs $25 and hits for 200 explosion damage. Steps to hold, charge and throw it, collect the floaters, and the 1.0.11 self-damage trap.
How to Use Dynamite in How to Fish: The $25 Shortcut, Explained Honestly
Dynamite is How to Fish's least elegant tool and one of its most effective. For $25 a stick — confirmed by Destructoid's items guide, which calls it "one of the laziest and most effective ways to fish in the game" — you skip casting, bait matching and line tension entirely: throw, boom, collect. Here is how to actually throw it, what the 200-damage blast is worth against real health pools, where it shines, and the situations where it quietly loses you money.
What Dynamite Does
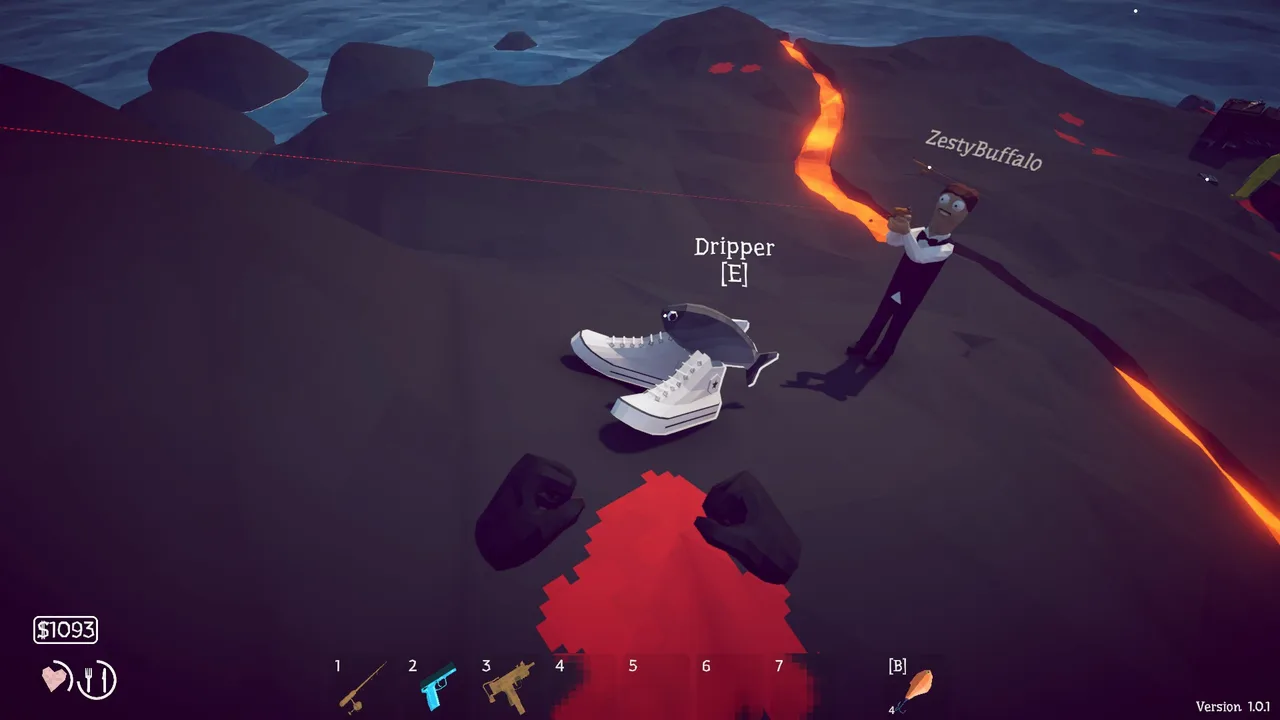
Throw a stick into water and it detonates for 200 explosion damage, killing or stunning everything in the blast radius. Floaters surface for collection; no aiming skill, no tension bar, no fight.
That 200-damage figure gives dynamite a real combat identity: it hits harder per detonation than a stock pistol shot (25) or SMG burst round (24), and out-damages a base shotgun pellet (3) by about 66× — but you pay $25 per trigger pull and carry none of a gun's follow-up. One stick is punctuation; sustained damage still wants barrels.
The mechanic matters because it bypasses every fishing subsystem at once:
- No bait-tier matching
- No ripple reading
- No line-tension rhythm
- No rod requirement beyond ownership
That is either lazy or efficient depending on your frame of reference. Destructoid's verdict leans efficient; your mileage will depend on what else you could be doing with the same minutes.
How to Throw Dynamite (Step by Step)
Dynamite is a consumable, not a tool you equip once, so the whole loop is buy, hold, throw, collect. On PC it takes five steps:
- Buy the sticks before you need them. $25 each from early shops onward, and the shop restocks between visits. Take three to five in one trip; the sailing time you save is worth more than the fourth stick costs.
- Put the stack on your hotbar. Select the dynamite stack so it becomes the held item. Holding a stick puts the rod away — you cannot cast and throw at the same time, so reel in first if you were already fighting something.
- Aim at the water, then hold the attack input. Left mouse button (or the attack button on a controller) starts the throw, and how long you hold decides how far the stick travels. There is no precision aiming involved: you are picking a landing spot, not a target.
- Release. The stick follows an arc and detonates the moment it touches water. It also goes off on sand, rock and boat decks, which is how most dynamite deaths happen.
- Collect the floaters. Killed and stunned creatures surface belly-up within a couple of seconds. Swim or sail over and grab everything — blast kills log in the Fishipedia exactly like rod catches, so a stick is a legitimate gap-filler for a species you cannot hook.
Far Throw vs Short Throw
Same input, different hold length, and the two cover different jobs:
- Short throw (quick tap): lands one or two body lengths out. Best for the tight shallow clusters right off the beach, and for fish already circling the boat. You are inside your own blast radius at this range, so throw over the side from dry ground or from the deck.
- Long throw (full hold): clears the bow and reaches scattered surface schools you would otherwise have to walk a rod through. You trade a longer swim to the floaters for one clean detonation instead of ten casts.
Two habits keep a clear profitable. Throw at open water rather than at the shoreline, because a blast half-wasted on sand still costs the full $25. And throw only where you can reach the bodies — floaters that drift out of swim range are $25 donated to the sea.
Since patch 1.0.11, your own explosives still kill you when friendly fire is switched off. A short throw into water you are standing in is now lethal to you, not just to your crewmates. Charge it, back off, or throw from the boat.
How Much Damage Does Dynamite Do?
200 explosion damage per stick, applied in one hit to everything inside the blast radius. That makes it the hardest single hit you can buy before the Sniper Rifle, and the comparison below shows why the two are not really competing:
| Source | Damage per hit | Price | Notes |
|---|---|---|---|
| Dynamite | 200 (explosion) | $25 per stick | Hits every creature in the radius |
| Sniper Rifle | 200 base, 500 maxed | $3,800 plus $10,000 of upgrades | One target per shot, needs the hit |
| Assault Rifle | 40 base, 100 maxed | $20,000 | Full-auto follow-up, endgame only |
| Pistol | 25 base, 160 maxed | $50 | 13 upgrade tiers |
| SMG | 24 base, 70 maxed | $650 | 13 upgrade tiers, fast follow-up |
| Shotgun | 3 per pellet | $150 | Multiply by however many pellets connect |
| Knife | 16 base, 120 maxed | $45 | No ammo cost at all |
That works out to roughly eight damage points per dollar — cheap per point, expensive per kill, because a stick only fires once. Counted against real health pools, and assuming every stick lands on the target:
| Target | HP | Sticks needed | Cost in dynamite |
|---|---|---|---|
| Spider Crab | 750 | 4 | $100 |
| The Old Pike | 1,000 | 5 | $125 |
| Giant Piranha | 2,500 | 13 | $325 |
| Tuna | 6,000 | 30 | $750 |
| Pufferfish | 18,000 | 90 | $2,250 |
| Bowhead Whale | 20,000 | 100 | $2,500 |
The honest reading of that table is the one this page keeps repeating: never buy dynamite as boss damage. A $650 SMG out-damages $2,250 of explosives on a single Pufferfish and is still in your inventory afterwards. What dynamite actually sells is damage that cannot miss — no aim, no reload, no ammo type — which is worth $25 against a cluster of small fish and worth nothing against a health bar you have to chew through alone.
Official source: How to Fish patch notes on Steam — the 1.0.11 entry documents the friendly-fire change. Item and weapon families are listed on the official Steam store page.
Where Dynamite Earns Its $25
1. Clustered Shallows
Shallow reefs stock high-volume, low-value bodies — exactly the profile where per-cast effort dominates profit. One stick clears a cluster that would take ten hooked fights. Volume plus zero effort makes this the canonical dynamite use case.
2. Mid-Fight Emergency Resets
Bosses and aggressive creatures can crowd a bad position. A well-placed stick deals burst damage and buys space — per community guides, it doubles as an unstickying tool when a fight has gone sideways and ammo discipline says do not spray.
3. Co-op Chaos Recovery
When physics sends the boat up a cliff and half the crew is downed, dynamite converts panic into fish. It requires no aim, which under co-op chaos is a feature.
Where Dynamite Loses Money
Honest accounting cuts both ways:
| Scenario | Verdict |
|---|---|
| Deep-water trophy hunting | Wrong tool — blast radius wastes its value on scattered targets |
| Boss DPS | Inefficient vs a proper gun's sustained damage |
| Trick-shot income building | Dynamite kills earn no multipliers — style kills pay more |
| Every cast on principle | $25 stacks vanish fast; the shop restock trips add up |
The pattern: dynamite wins on consistency per minute, loses on ceiling per kill. Use it as working capital management, not as a primary income strategy.
Interaction With Other Systems
- Cooking still applies — blast-caught bodies cook and sell like any other, restoring the margin dynamite spent
- Fishipedia logging — creatures killed by dynamite log normally, making it a gap-filler for stubborn species
- Trophy safety — uniquely named quest drops follow normal drop rules; the usual never-sell-discipline holds around blasts too
Budget dynamite like ammunition: a few sticks per island as working capital, not a primary income source. Per Destructoid, players who treat it as a lifestyle find their assault-rifle fund mysteriously gone.
Dynamite vs Shotgun vs Rod
| Method | Skill Needed | Income Ceiling | Best For |
|---|---|---|---|
| Rod + bait | Bait matching, tension rhythm | Highest (rares + trick shots) | Money long-game |
| Shotgun kills | Moderate | High (multiplier-eligible) | Active play |
| Dynamite | None | Moderate, consistent | Volume clearing, emergencies |
Throwing Mechanics and Blast Discipline
Dynamite throws on an arc, and the blast punishes careless placement in three directions:
- Distance control matters more than aim — short throws waste the radius on shoreline, long throws scatter the cluster
- Crew spacing in co-op is real: blast damage does not distinguish fish from friends, and friendly-fire knockback into water is a genuine hazard during shallow clears
- Trophy safety — blasting near a downed boss or unique creature risks damaging drops you cannot replace; clear ordinary water, spare the named things
Players who internalize the arc within a few practice sticks get reliable cluster clears forever. Players who skip practice donate $25 increments to the sea while learning.
Dynamite in the Achievement Economy
Several achievements reward kill counts and trick-shot variety rather than method purity — dynamite contributes bodies to count-based goals faster than almost any legal alternative. It contributes nothing to trick-shot goals, which require style kills. Check which achievement list you are working before choosing your explosive philosophy for the evening.
Dynamite Versus the Early Wallet
The cruelest joke about dynamite pricing: $25 hits hardest exactly when you can least afford it. On Lighthouse, where total net worth hovers around $30–50, one stick equals half a knife or two-thirds of the radar. By Island 3 the same stick rounds off, and by endgame it is rounding error next to a $20,000 rifle fund.
That curve shapes when the tool makes sense:
- Islands 1–2: buy exactly zero unless an achievement demands it — every stick delays the shotgun
- Island 3 onward: keep two or three sticks as emergency inventory; clustered shallows start paying the sticks back
- Post-game: spend freely; the wallet finally outgrows the price tag
The community consensus matches the curve — dynamite reviews range from "lazy genius" to "coin furnace" depending entirely on how rich the reviewer was when they fell in love with it. Buy it when blowing up fish is cheaper than the time spent catching them, not a moment before.
The Verdict Table
Every dynamite question reduces to one decision matrix:
| Your Situation | Buy? |
|---|---|
| Shotgun fund under $150 | No — every stick delays the run-changer |
| Clustered shallows farming session | Yes — consistency beats cast effort |
| Boss fight going sideways | One stick, maybe two — punctuation, not strategy |
| Achievement hunting (kill counts) | Yes — bodies per minute is the whole metric |
| Post-game sandbox | Whatever — the wallet has outgrown the tool |
Read honestly, that table says dynamite is a situational tool with a cult following. The cult is right about what it does; the critics are right about what it costs. Both reviews describe the same $25 stick.
Dynamite in the Wider Economy
Dynamite is one tool in a money system with sharper edges. If the blast radius is doing your fishing, the money farming guide explains why cooked sales and trick-shot multipliers beat raw explosive hauls, and the bait guide covers the bait economy dynamite replaces.
FAQ
How much does dynamite cost in How to Fish?
$25 per stick, available from early shops onward per Destructoid's items guide.
Is dynamite worth using?
For clustered shallows and emergency resets, yes — it trades margin for consistency. As a primary income strategy, no; trick-shot and rare hunting out-earn it at scale.
Can dynamite kill bosses?
It deals burst damage useful for unsticking phases, but sustained boss damage wants an SMG or better. Think of dynamite as punctuation, not prose.
More How to Fish Guides
Boat upgrades in How to Fish explained: engine and storage parts, the permanent radar mount, why boats come last in purchase orders and when speed pays off.
How to Fish has no console build, so there is nothing to cross: Steam PC, Deck and GeForce NOW players share the same 8-player lobbies. Co-op facts for 2026.
Desert Island guide: the grill master's shark, the tourist's endangered creature, SMG attachment shopping, and beating the Pufferfish.
How to get drip rainbow creatures in How to Fish: what they are, where they spawn, how the Island 4 slot machine turns them into legendary weapon skins.
The Fishipedia completion guide for How to Fish: logging every species, rare variant and drip entry with a checklist order that avoids wasted island trips.
Forest Island guide: the five-leech quest and special bait, where guns unlock, the girl's big yummy fish, and the Giant Piranha fight.
How to beat the Giant Piranha in How to Fish: the $1 Leech Bait summon chain, 2,500 HP solo tactics, and what patch 1.0.12 did and did not change.
Every island in How to Fish in unlock order — Lighthouse, Forest, Desert, Rocks, Military Volcano — with the boss trophies that gate each one.