
Desert Island guide: the grill master's shark, the tourist's endangered creature, SMG attachment shopping, and beating the Pufferfish.
How to Fish Desert Island: The Complete Third-Island Guide
The Desert — or Tropical Chaos, as its waters would have you call it — is How to Fish's third island and its economic turning point. This is where cooking becomes a system instead of a flavor detail, where the SMG hits the shop shelf, and where two NPC chains (a hungry grill master, a terrified tourist) gate the tankiest boss yet: the Pufferfish.
The Grill Master Wants a Shark
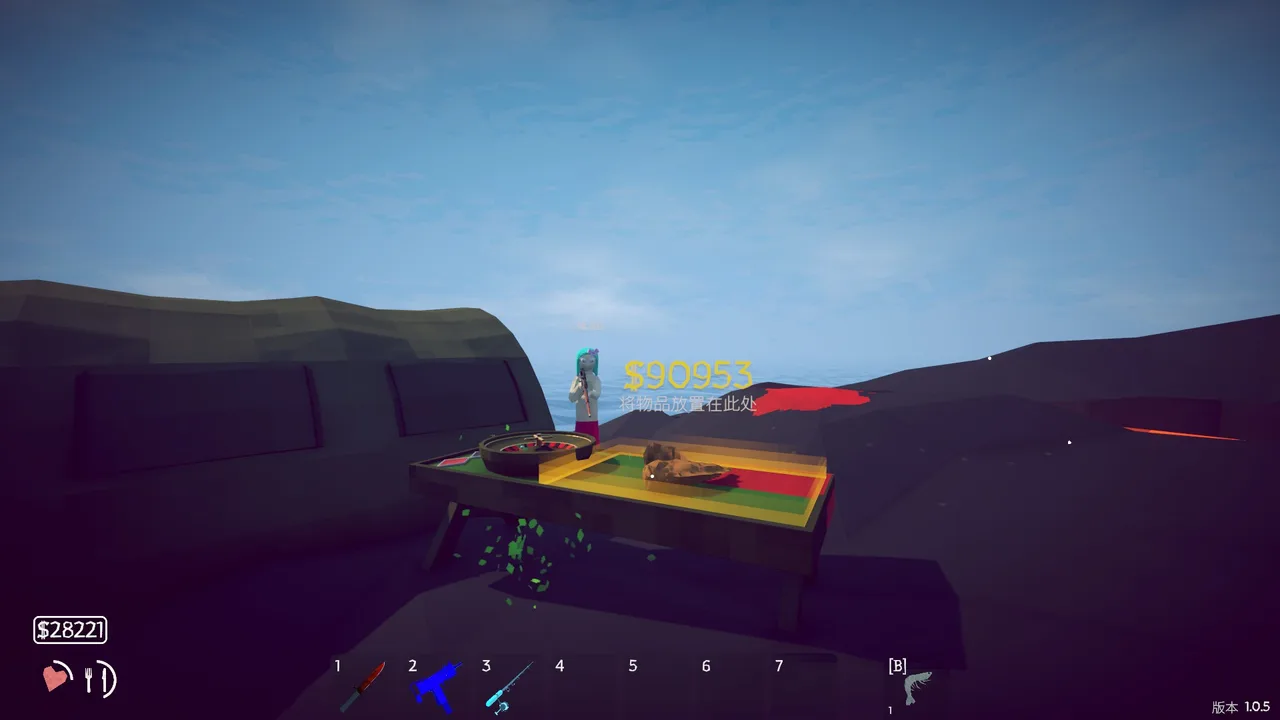
The first chain is a party order:
- The grill master wants a shark for his gathering
- Catch one with the island's standard and boss-tier lures
- Cook it before delivery — the game's worth curve is exact: raw 1.0×, properly cooked 1.5×, burnt 0.1×
- Mind the heat: burning a catch deletes 90% of its value — worse than selling it raw
Complete the delivery and his grill becomes permanently yours. That is the real prize: from this island forward, cook-before-sell is your default loop on every catch worth more than pocket change. Players who skip this quest pay a silent tax on every sale for the rest of the run.
Practice cook timing on cheap fish before grilling anything expensive. The grill moves value 1.0× → 1.5× → 0.1× across the cook cycle, so the margin between a perfect sale and a burnt one is a 15-fold swing.
The Tourist and the Endangered Creature
The second chain gates the boss:
- A Tourist is terrified of something in the water and wants an endangered creature
- Catch it with boss-tier lures and deliver it
- Your reward: carrot bait — which summons the Pufferfish
Two quests, two rewards, one gate. Skipping either means no boss spawn; per Whisperofthehouse's boss guide, missing triggers are almost always the reason an expected boss fails to appear.
Shopping: SMG and Everything
The Desert shop carries the game's mid-tier arsenal:
| Purchase | Price | Notes |
|---|---|---|
| SMG | $650 | The islands 3–4 workhorse |
| Compensator / suppressor | shop tier | Recoil control — near-mandatory before bosses |
| Laser / red-dot | shop tier | Tracking on fast-moving targets |
| Extended magazine | shop tier | Fewer reloads against tanky health pools |
| Extra inventory slots | shop tier | Boss trophies plus cooked stock pile up fast |
Per TposeGaming's guide, bare-SMG recoil is rough enough that a compensator or suppressor is "close to mandatory" before any serious fight. Budget accordingly: gun plus attachments together, not gun now attachments later.
The upgraded shotgun still serves as a backup here, but Desert health pools expose its ceiling quickly.
Fishing and Money on Island 3
Standard and standard-boss lures are your daily drivers now. Two loops pay:
- Catch-cook-sell: every mid-tier catch through the grill at up to 1.5x
- Trick-shot kills: 360s and aerial finishes start printing money here — worth practicing before the Rocks island multiplies their value further
The Blue Shark encounter in these waters doubles as both a combat exam for your new SMG and a cooking payday when finished cleanly.
The Pufferfish: Boss of the Desert
Everything funnels into the fight with the carrot-baited Pufferfish — statistically the second-toughest boss in the game at 18,000 HP (only the final whale is tankier), with a 34-damage contact hit:
- Tanky beyond anything prior; rolls around like a wrecking ball
- Its best hits one-shot or near one-shot unprepared players
- Knockback from shotgun/SMG fire can interrupt its rolls — a stopped puffer is free damage
- Keep cooked food on the ground nearby for mid-fight healing
- Never stand still; constant repositioning is the entire defense
Kill it, keep the named trophy (the tail), hand it in for the Island 4 coordinates. Our Pufferfish boss guide has the complete play-by-play.
Leaving Checklist
- Grill access earned (shark delivered)
- Carrot bait used — Pufferfish killed
- Tail handed in → Island 4 coordinates received
- SMG fully attached
- Inventory slots expanded
- Assault rifle savings fund mentally opened ($20,000 is coming)
The Endangered Fish: Catching Tips
The Tourist's request trips players because endangered creatures do not follow standard lure logic:
- Use boss-tier lures — standard bait rarely hooks protected species
- Work deeper water zones; rare spawns avoid the shallows that fund early-game loops
- Expect misses. The catch rate is intentionally stingy; several casts per attempt is normal, not broken
Once caught, deliver promptly — the carrot bait it buys is the entire gate to the Pufferfish, and holding an endangered fish in inventory invites the classic mistake of cooking it during a hungry moment.
Inventory Management Comes Due
Extra inventory slots stop being optional on this island. Between shark catches, endangered deliveries, cooked stock and the eventual pufferfish tail, bag space fills faster than Lighthouse ever hinted. Players who skipped slot upgrades at the shop feel it first as slow trips between beach and shop, then as accidental drops of things that mattered.
Buy the slots when you buy the SMG. Both are investments in the Rocks and Volcano legs where travel time compounds.
What the Desert Teaches
Every island so far has had a curriculum: Lighthouse taught economy, the Forest taught weapon discipline. The Desert teaches preparation as profit — the grill quest, attachment shopping and cook-timing practice all pay out permanently. Runs that internalize the Desert's lessons arrive at the Rocks with money momentum; runs that rush it arrive broke and meet the Terrorizing Bird under-geared.
Blue Shark: The Mid-Island Exam
Between shopping trips and quest chains, the Desert waters host the Blue Shark encounter — a fast swimmer with a real health pool (2,300 HP, 36 contact damage) that jumps and thrashes hard when hooked or cornered. Treat it as a skills exam for your new SMG:
- Lead your shots. Its speed punishes reactive aiming tuned to slower Desert wildlife
- Use cover. Trees and the boat break its approach lines the same way they will against the Terrorizing Bird later
- Cook the prize. A trick-shot finished, properly cooked shark is one of the island's best single sales
Players who clear the shark comfortably are ready for the Pufferfish's movement phase. Players who struggle against it learn the same lessons for free instead of during a white-bar race.
FAQ
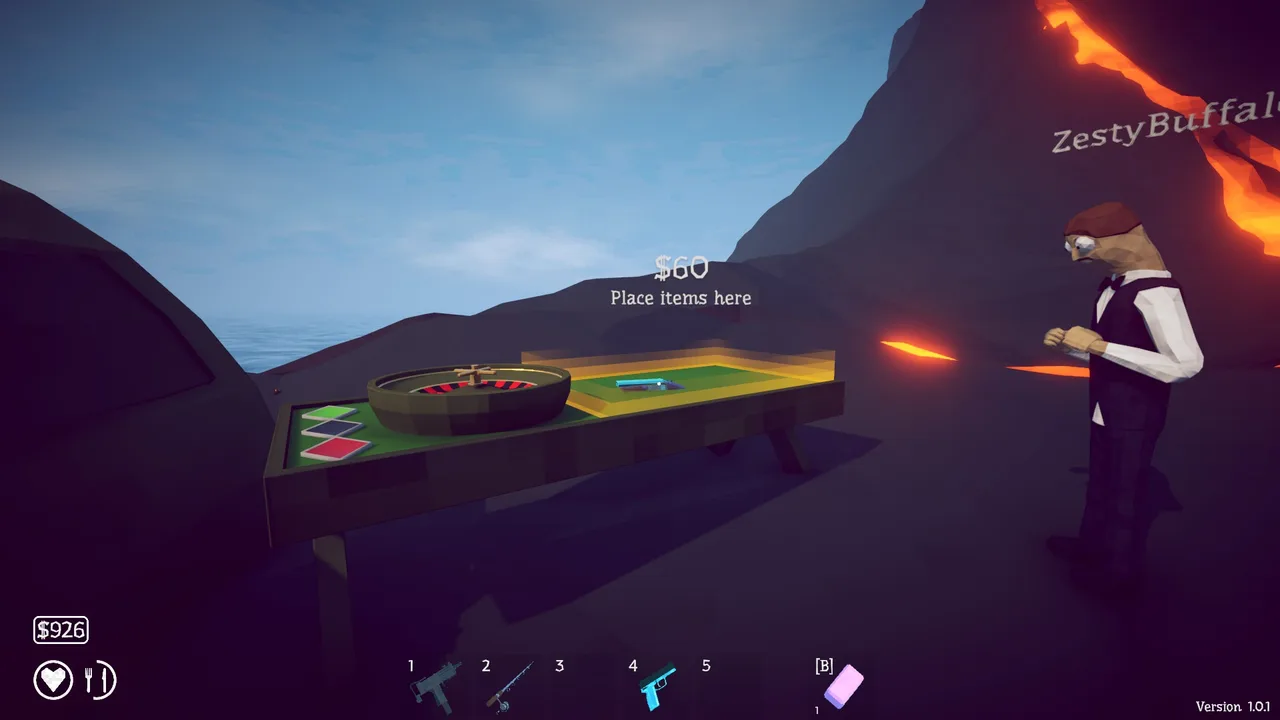
How do I get carrot bait?
Deliver the endangered creature the Tourist asks for. The chain runs Tourist → endangered fish → carrot bait → Pufferfish summon.
What does overcooking do?
Drops the cooked value back down — the 1.5x multiplier only applies at proper doneness. Watch the grill.
Is the shotgun still viable on Island 3?
As a backup, yes. As a primary against the Pufferfish, it extends fights toward the white escape bar's limit — the attached SMG is the intended tool.
Official Sources
Official source: the official patch notes record the balance passes behind the Island 3 fights, and the How to Fish store page covers the shop and weapon tiers referenced above.
- How to Fish on Steam — official store page and patch feed
- How to Fish news hub — every official announcement, newest first
- Dazed Games — the two-person studio behind the game
More How to Fish Guides
Guide to How to Fish achievements: 360 No Scope, Terrorizing Bird, the one-hour speedrun and a two-run structure for completing every family efficiently.
Every fish location in How to Fish: all 54 creatures by island and water depth, bait matching, ripple colors and the nine endangered species.
Every quest chain in How to Fish: clam economy, Beer Can summon, leech delivery, shark feast, endangered fish, tuna offering and the Scientist volcano finale.
Every bait and lure in How to Fish: the free starter, $1 Hotdog Lures, Grubs, Heavy Metal, river and swamp specialty lures and boss lures with tier matching.
How to find and beat Bing Bong, the secret boss on Island 3: the $350 coconut summon, ranged-only fight, and what it drops.
Boat upgrades in How to Fish explained: engine and storage parts, the permanent radar mount, why boats come last in purchase orders and when speed pays off.
How to Fish has no console build, so there is nothing to cross: Steam PC, Deck and GeForce NOW players share the same 8-player lobbies. Co-op facts for 2026.
How to get drip rainbow creatures in How to Fish: what they are, where they spawn, how the Island 4 slot machine turns them into legendary weapon skins.