
How rare fish variants work in How to Fish: gold ripple reading, the baits each rare wants, line-tension technique and where valuable spawns hide.
How to Fish Rare Fish Variants: The Complete Hunting Guide
Rare fish variants are where How to Fish stops being a selling loop and becomes a hunt. They are not simply stronger versions of ordinary catches — per Worldeka's dedicated rare-fish guide, most demand specific bait, particular positions, and patience, plus a few have nasty habits like dragging lines toward rocks or spiking tension out of nowhere. Here is how the system works and where every confirmed rare lives.
The Ripple Color Code
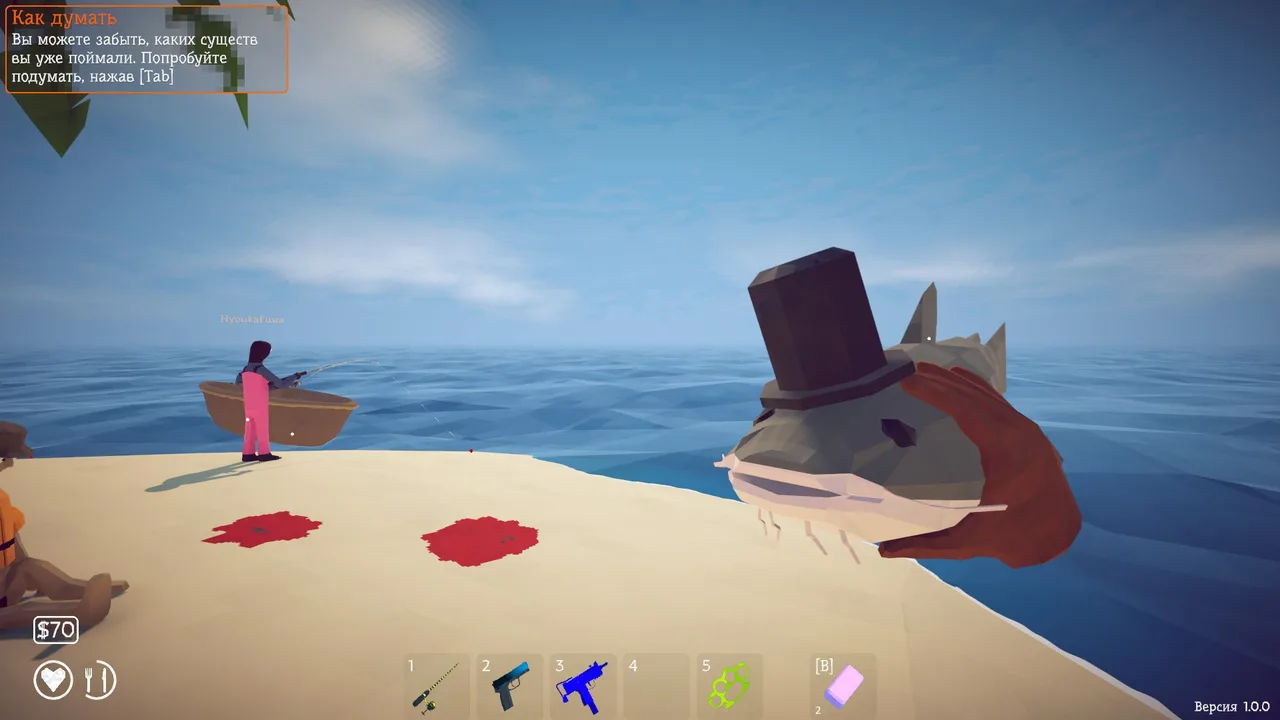
The game telegraphs rarity through surface ripples:
| Ripple | What It Holds |
|---|---|
| White | Common stock |
| Blue | Uncommon catches |
| Gold / orange | Rare and legendary targets |
| No ripple | Standard open-water filler |
Gold is the color that pays. But do not ignore odd water entirely — unusual splashes, bubbling and distorted patches sometimes hold specials that never present a clean ring. Slow down and read the water before casting; with four players and full chaos, the obvious spot is not always the best one.
Line Tension: The Skill Gate
Every rare fights harder than its common cousin, and they all punish the same mistake: constant reeling. Tension climbs while you wind; past the danger zone the line snaps and the catch is gone.
The working technique is alternation:
- Pull during calm windows
- Stop winding when tension spikes — let the fish run
- Resume once it settles
Terrain multiplies the danger. Rocks, dock supports, cliffs and shallow ground turn a strong fish into a line-breaker, so stand with clear casting angle and open space behind you. Elevated rocks and open sand are the premium positions.
Keep a weapon ready too — some rare fishing attempts attract hostile creatures mid-fight.
Confirmed Rare Targets
Golden Shad (Lighthouse)
- Ripple: gold · Bait: Grubs (dig dry sandy areas) · Spot: far end of the wooden docks, casting toward deep open water
- Fights aggressively for its tier; the same pull-and-release rhythm wins
Mechanical Octopus (Lighthouse)
- Ripple: deep blue/gold · Bait: Heavy Metal Lure (starter shop, after early quests) · Spot: northern rocky overlook, swirling foam beneath the cliffs
- Nastier fight pattern than the Shad; worth it for the sale price
Deep Pool Perch (valley zones)
- Bait: Grubs or Small Minnow Lures · Spot: northeast side of the deep valley pool, casting toward dead partially-submerged trees from the flat shoreline rock
- Casting distance genuinely matters here — take the extra seconds to aim at the deep channel rather than the shallow edge
Legendary Steelhead Trout (waterfall pool)
- Ripple: gold · Bait: Special River Lure · Spot: stable platform facing the main waterfall, cast toward the boulder in the rushing water
- The current makes impatience expensive: reel when the fish stops jumping, back off when it fights
Giant Pufferfish (reef waters)
- Bait: Special Swamp Lure or Leeches · Ripple: gold
- Looks harmless on the hook. It is not.
Zone naming for the deeper areas varies between launch guides — some describe sunken valley and crimson reef systems that do not map cleanly onto the five island names. Verify spots in-game before building a farming route around any secondhand name.
Why Hunt Rares At All?
Three reasons stack:
- Sale value — a gold-ripple body like the Blobfish carries a $1,360 base against $10–24 for common stock, before weight and cooking multipliers apply
- Fishipedia completion — the collection log requires logging every variant, and rares are the long tail
- Casino fuel — drip (rainbow) creatures feed the Island 4 slot machine for weapon and rod skins; rare hunting is the natural on-ramp to that economy
What Rare Catches Are Actually Worth (File-Verified)
The sale-value gap between tiers is not folklore — it is in the game data. Base worth per catch, straight from the build:
| Catch | Base Worth |
|---|---|
| Superdwarf Fish | $1,700 |
| Anglerfish | $1,500 |
| Stonefish | $1,500 |
| Oarfish | $1,450 |
| Blobfish | $1,360 |
| Bass (solid mid-tier) | $250 |
| Goldfish (common) | $24 |
| Cod (common) | $10 |
| Clam | $1 |
Two multipliers then stack on top of every sale: each fish's body weight rolls randomly between 0.25× and 1.75× the base (a bell curve centered on 1.0), and grilling it perfectly applies another 1.5×. A top-roll, perfectly-cooked rare can therefore sell for over $4,400 before any casino or kill-score bonuses — while the same fish badly rolled and sold raw barely clears its table value.
Common Mistakes
- Casting without reading ripples — hours of white-ripple casts produce zero progress toward rare goals
- Fighting terrain. A gold catch near dock supports needs repositioning before the hook, not during the fight
- Reeling through tension spikes. The snap is instant and total; patience is cheaper than repetition
- Ignoring weapons. An interrupted catch is a lost catch; shotgun within reach at all times
Rare Hunting as a Money Strategy
Compare an hour of rare hunting against an hour of volume fishing and the math surprises most players:
- Volume loop: dozens of commons, steady coins, zero tension risk
- Rare loop: fewer catches, but each gold-ripple body outsells commons by multiples — and cooking multipliers apply to the same sale
The rare loop also feeds two long-term goals simultaneously: Fishipedia entries and casino-bound drip hunting, which is why mid-game guides converge on it as the default money activity once boss-tier lures become affordable.
The one real cost is failure rate. A snapped line returns nothing; a snapped line near rocks after a long fight stings. That is why positioning precedes technique in every serious guide — the fight you can lose calmly is the fight worth starting. Stand before you cast, check your backdrop, and only then read the ripple.
Session Structure for Variant Hunters
A rare-hunting session has a shape. Open at the shop: bait matched to the day's target, one backup lure class, food cooked or bought. Move to the premium water first while attention is sharpest — gold ripples punish distracted play through the tension system. Bank whatever rares land, then close the session on volume water where misses cost nothing and the sale pile refills the bait budget.
Alternating premium and volume water inside one session also protects morale. Pure-rare sessions live and die on spawn luck; the volume segments guarantee every hour produces sellable results even when the gold ripples refuse to show. Over a week of sessions, the hybrid hunter banks more coins and more log entries than either purist style.
Variants and the Systems Behind Them
Rare variants sit on top of the base fishing systems. The fish location guide maps every species to its island, the bait guide explains which lures raise your odds on gold ripples, and the money farming guide prices the payoff of hunting variants over volume fishing.
FAQ
How do I know a rare fish is coming?
Gold or orange ripples mark rare and legendary targets. Unusual splashes and bubbling water can also hide special spawns.
What bait do rare fish want?
Each has a preference — Grubs, Heavy Metal Lures, river-specific lures, swamp lures or leeches depending on the target. Matching lure to ripple and zone is the core skill.
Do rare fish appear on the first island?
Yes — the Golden Shad and Mechanical Octopus both live around Lighthouse once you have an upgraded basic rod and the right lures.
Official Sources
Official source: the official patch notes are the first-party record of every creature and value change, and the How to Fish store page confirms the lures sold at each island.
- How to Fish on Steam — official store page and patch feed
- How to Fish news hub — every official announcement, newest first
- Dazed Games — the two-person studio behind the game
More How to Fish Guides
Boat upgrades in How to Fish explained: engine and storage parts, the permanent radar mount, why boats come last in purchase orders and when speed pays off.
How to Fish has no console build, so there is nothing to cross: Steam PC, Deck and GeForce NOW players share the same 8-player lobbies. Co-op facts for 2026.
How to get drip rainbow creatures in How to Fish: what they are, where they spawn, how the Island 4 slot machine turns them into legendary weapon skins.
Dynamite does 200 explosion damage per stick in How to Fish — what that one-shots, how many sticks each boss needs, and the patch 1.0.11 self-damage rule.
The Fishipedia completion guide for How to Fish: logging every species, rare variant and drip entry with a checklist order that avoids wasted island trips.
Forest Island guide: the five-leech quest and special bait, where guns unlock, the girl's big yummy fish, and the Giant Piranha fight.
How to beat the Giant Piranha in How to Fish: the $1 Leech Bait summon chain, 2,500 HP solo tactics, and what patch 1.0.12 did and did not change.
Every island in How to Fish in unlock order — Lighthouse, Forest, Desert, Rocks, Military Volcano — with the boss trophies that gate each one.