
Military Volcano endgame guide: Scientist quest, the $20,000 assault rifle prep, beating the Magma Whale and finishing How to Fish's story.
How to Fish Volcano Island: The Military Endgame Walkthrough
The Military Volcano is How to Fish's fifth and final island — a fortress-themed endgame zone where the tutorial-era charm gives way to military opposition, a Scientist with one last request, and the giant whale that ends the story. Everything in the game funnels here: the trophy chain that started with a Spider Crab shell, the weapon economy that started with a $3 rod, and every coin you did or did not save.
Getting In: Coordinates From the Bird's Head
Access follows the same contract as every island:
- Kill the Terrorizing Bird on Island 4 (Tuna on the grass, professional boss lure)
- Keep the Bird's Head — do not sell it
- Hand it in through the quest chain
- Receive the Volcano radar coordinates
- Equip the radar, sail toward the blip
If the coordinates never appeared, audit your inventory first. The head is the key; sold keys mean re-flown birds.
The Scientist Quest
Inside the volcano zone, the local NPC chain centers on a Scientist who sends you after the Bowhead Whale — the encounter every launch guide names something slightly different (Magma Whale, lava whale, Mutated Bowhead Whale; it is one boss). Per Whisperofthehouse's boss guide, the pattern holds to the very end: finish the local request, prepare the trigger, then hunt.
Do not skip the Scientist's chain to go whale-hunting early. Un-triggered bosses do not spawn, and unspent money on extra weapons will not fix that.
Preparation: What This Fight Costs
The Military Volcano checks your entire economy:
| Requirement | Detail |
|---|---|
| Assault Rifle | $20,000 — non-negotiable |
| Rifle damage ladder | 40 base → 100 max; the 12 upgrade steps cost $300–$5,800 each |
| Attachments | Full kit: compensator/suppressor + extended magazine minimum |
| Ammo | Stockpiled before sailing; no mid-fight resupply |
| Cooked food | Brought along for mid-fight healing |
| Backup weapon | Attached SMG as fallback (24 base damage per shot) |
Why the rifle is non-negotiable, in one number: the Mutated Bowhead Whale has 38,000 HP — the largest pool in the game — and hits for 36 contact damage on anything it touches. A stock assault rifle needs 950 body shots for the kill; the fully upgraded 100-damage rounds cut that to 380. No other weapon in the shop comes close to that math.
Per TposeGaming's gun guide, you need the assault rifle "fully attached before the lava whale" — partial kits extend the fight toward the white escape bar's limit. Under-funded arrivals should farm the Rocks island trick-shot loops first; per TposeGaming, 360 kills at this stage print money fast enough to close most funding gaps.
The Whale Fight
Every lesson converges:
- Bait-and-punish: committed attacks open recovery windows — the Spider Crab pattern at maximum scale
- Never stand still: the Pufferfish's rule, now against attacks that can end runs
- Use terrain: break attack lines like you did against dive-bombs
- Stay in the arena: per Whisperofthehouse, remain inside the Volcano encounter area instead of fleeing toward the boat — escapes drain the white bar while exposing you at range
- Watch the timer: slow play loses fights you were winning
Co-op crews run the standard split: baiter holds facing, two damage players work opposite flanks, support handles revives and food.
The Ending: Feed the Volcano
Here is the part nobody expects: killing the whale does not roll credits. The story's final act is delivering the whale into the volcano itself — the last hand-in of a trophy chain that began with feeding clams to a lighthouse keeper.
Complete it and How to Fish ends. Speedrunners hit this point inside roughly an hour for the achievement; completionists detour through side quests, the full Fishipedia, and the casino first.
After the Credits
The islands remain available post-story — fishing, farming, casino gambling and achievement cleanup continue for crews who want them. Common post-game goals:
- 100% Fishipedia completion, including rare variants
- Full achievement list (the one-hour final boss speedrun among them)
- Casino legendary skins from drip creatures
- Maxed boat and arsenal without money pressure
- The optional discoveries the story never points at — the secrets and easter eggs guide covers the hidden mini-bosses, the $10 radar and the things you can only find after the credits
The Military Zone: What Changes
Earlier islands threatened you with wildlife. The Volcano's garrison-style opposition fights with intent — tighter patrols, harder-hitting packs, and none of the animal AI telegraphs that made sidestep timing comfortable. Two adjustments carry over well from Island 4: precision weapons over spray, and terrain discipline over open-ground heroics.
Expect slower progress per meter of island. That is by design: the zone exists to test whether your economy and combat habits survive pressure applied simultaneously.
Post-Kill Checklist
After the whale dies, the story wants one more input — the delivery. Before sailing anywhere:
- Whale secured (the finale requires delivering it, not just looting it)
- Hand-in route to the volcano confirmed
- Screenshot taken — you beat How to Fish
Then feed the volcano, watch the credits, and decide what kind of post-game this will be: achievement cleanup, Fishipedia completion, casino legendary hunting, or simply one more island loop with friends.
Speedrun Context
The one-hour final-boss achievement reframes the entire game as a routing puzzle: skip side quests, buy exactly the required weapons, and chain boss summons back-to-back. It is a legitimately fun second playthrough — and it only makes sense after a completionist first run taught you which corners can be cut. Most crews do it backwards and blame the game.
Sailing In: The Approach Matters
The final sail is longer than anything before it, and arriving damaged or hungry is a self-inflicted handicap. Before leaving the Rocks:
- Top off hunger with cooked food rather than raw ingredients
- Confirm the radar is mounted or equipped — open-water navigation without it wastes the calmest minutes of the endgame
- Stow ammo accessibly; rummaging mid-volcano costs arena time
The military zone's patrols start well before the Scientist's position, so treat the approach itself as the first encounter. Crews should land together and move together — solo scouting into garrison territory is how support players go missing before the whale ever spawns.
Keep the Trophy Discipline Alive
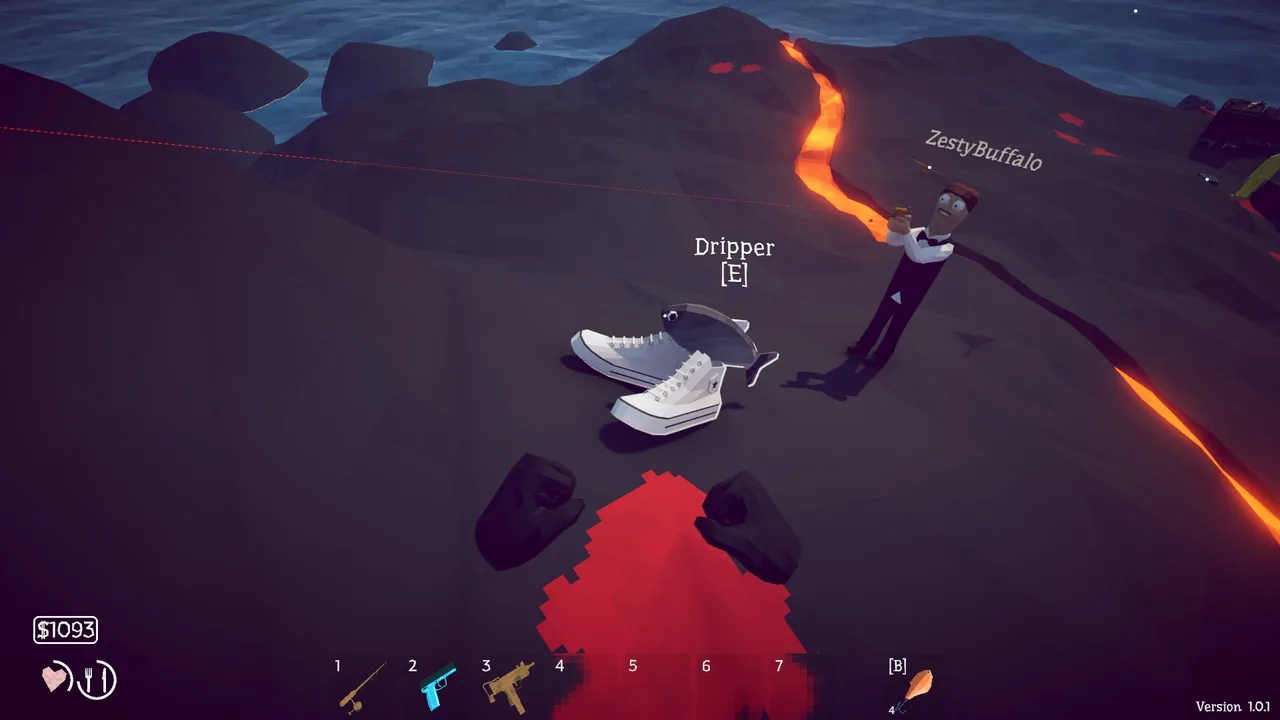
One final warning, because endgame confidence is where trophy discipline goes to die: the whale's drops are still quest items until the volcano accepts them. Players have finished the fight, gotten greedy with inventory cleanup, and misplaced the delivery in the same ten minutes. The story ends when the volcano eats — not when the health bar empties.
FAQ
How do I unlock the Volcano?
Kill the Terrorizing Bird on Island 4, keep its head, hand it in for the radar coordinates, then sail. No head, no coordinates.
Is the assault rifle really required?
Practically yes — the whale's health pool against lesser weapons means losing the escape-timer race. Fully attached $20,000 or bust. The stock rifle starts at 40 damage a shot, which is 950 body shots into a 38,000 HP pool; the fully upgraded 100-damage version cuts that to 380. The upgrade ladder between those two numbers is where the real cost lives.
What happens when I finish the game?
Delivering the whale into the volcano completes the story. Islands stay open afterward for fishing, achievements and 100% hunts.
How much health does the final boss have?
The Mutated Bowhead Whale has 38,000 HP — the largest pool in How to Fish — and hits for 36 contact damage. The Bowhead Whale you summon first with the Fish Bucket is a separate, smaller fight at 20,000 HP and 28 contact damage.
Can I beat the volcano boss solo?
Yes, but the margin is thin. A solo run gets no revive and no food staging, so the escape bar becomes the real opponent — this fight is lost to the white timer far more often than to the health pool. Bring a fully upgraded assault rifle, place cooked food on the ground before the summon, and accept that a solo attempt runs noticeably longer than a two-player one.
What should I buy before sailing here?
In order: the assault rifle at $20,000, its damage ladder as far as the island allows, then a full attachment kit — compensator or suppressor plus an extended magazine at minimum. Extra inventory slots are worth the money too, because more carried cooked food is more healing mid-fight. Boat upgrades can wait; speed does not kill the whale.
Patch History That Changed This Island
Three patches landed between launch and the end of the bugfix run, and each one moved something here. If you are following an older walkthrough, these are the differences:
| Patch | Date | What It Changed Here |
|---|---|---|
| 1.0.10 | Aug 27 | Dropped items now persist across saves (up to 64, prioritising weapons, tools and quest items); weapons and tools that get "cooked" can be washed clean in water; anglerfish nerfed |
| 1.0.11 | Sep 1 | GeForce NOW support and Steam Deck Verified; save corruption check with automatic backup; toggle-aim, toggle-sprint, hold-attack and nameplate options; iron sight removed as a purchase; suppressors can no longer be downgraded into compensators; with friendly fire off, your own explosives still kill you |
| 1.0.12 | Sep 4 | Steam Cloud saves; piranha rebalanced (no official numbers published); tuna slightly nerfed; item speed capped; MetaVoice 4.3 voice fix; the final boss can now be damaged by explosives on its tail as it falls |
Two of those matter more than the rest for the endgame. The 1.0.10 dropped-item persistence is what makes trophy discipline survivable — a whale trophy left on the ground is far less likely to evaporate than it was at launch. And the 1.0.12 tail-explosive change hands co-op crews a second damage window during the fall animation that did not exist before.
Dazed Games described 1.0.12 as possibly the last bugfix patch before content updates, so treat this table as current rather than historical.
Official source: How to Fish patch notes on Steam — the 1.0.10, 1.0.11 and 1.0.12 entries are the record for every change listed above. The official store page carries platform and pricing details, and SteamDB tracks build numbers between announcements.
The Volcano in the Full Picture
The volcano is the end of a long chain, and every link is documented elsewhere on this site. The all islands guide shows the unlock order that gets you here, the Magma Whale boss guide breaks down the final fight in depth, and the money farming guide explains how to arrive funded.
More How to Fish Guides
Guide to How to Fish achievements: 360 No Scope, Terrorizing Bird, the one-hour speedrun and a two-run structure for completing every family efficiently.
Every fish location in How to Fish: all 54 creatures by island and water depth, bait matching, ripple colors and the nine endangered species.
Every quest chain in How to Fish: clam economy, Beer Can summon, leech delivery, shark feast, endangered fish, tuna offering and the Scientist volcano finale.
Every bait and lure in How to Fish: the free starter, $1 Hotdog Lures, Grubs, Heavy Metal, river and swamp specialty lures and boss lures with tier matching.
How to find and beat Bing Bong, the secret boss on Island 3: the $350 coconut summon, ranged-only fight, and what it drops.
Boat upgrades in How to Fish explained: engine and storage parts, the permanent radar mount, why boats come last in purchase orders and when speed pays off.
How to Fish has no console build, so there is nothing to cross: Steam PC, Deck and GeForce NOW players share the same 8-player lobbies. Co-op facts for 2026.
How to get drip rainbow creatures in How to Fish: what they are, where they spawn, how the Island 4 slot machine turns them into legendary weapon skins.