
The Fishipedia completion guide for How to Fish: logging every species, rare variant and drip entry with a checklist order that avoids wasted island trips.
How to Fish Fishipedia Completion: The 100% Collection Checklist
The Fishipedia is How to Fish's collection log — every species you land gets logged, and completionists get two long-term goals for the price of one: the full Fishipedia and the Collector-style variant hunting that sits behind it. Per howtofishgame.wiki's breakdown, the goals include logging every creature plus its rare variants and drip forms, with no invented shortcuts. Here is the sane order to do it in.
Official source: the live build ships 54 catchable creature entries, and the store listing on the official Steam store page is the authoritative record of the game's current version. Post-launch balance patches that moved creature values and spawns are documented on the official Steam news hub, and player-written entry lists are collected on the Steam community guides hub.
What the Fishipedia Tracks
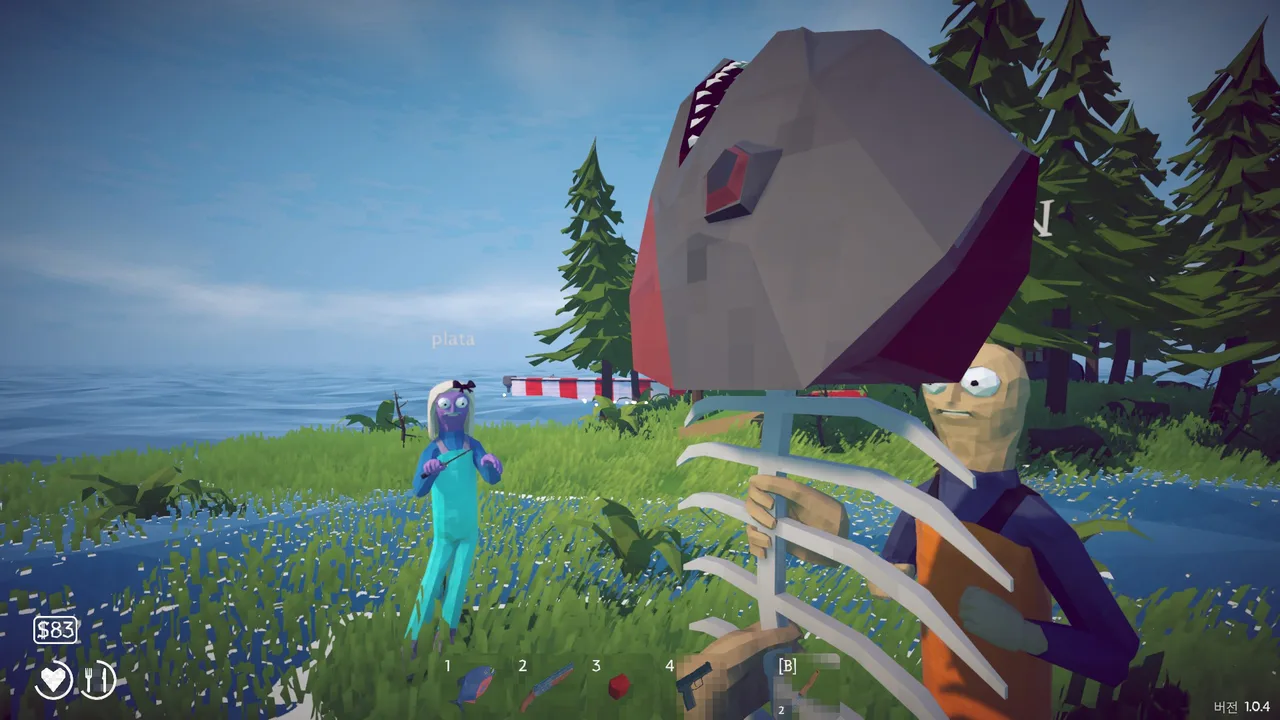
Three layers stack into the log:
- Standard species — the build ships 54 catchable creature entries across five islands, from $1 Clams to the 38,000 HP final whale
- Rare variants — gold-ripple versions of many species (Golden Shad, Mechanical Octopus, Legendary Steelhead Trout and friends)
- Drip (rainbow) creatures — the ultra-rare tier, also the slot machine's currency
A completed Fishipedia therefore means three passes over the same waters with escalating bait tiers — not one pass with luck.
The Exact Math: 54 Entries, Broken Down
The numbers are explicit about what a 100% Fishipedia actually contains — no guesswork needed:
| Category | Count | Notes |
|---|---|---|
| Total catchable creatures | 54 | includes every fish, crab, bird and whale |
| Regular species | 43 | random-cast / shoreline pickups |
| Boss-tier creatures | 11 | flagged with the boss type in the data — Albatross, Blue Shark, Bowhead Whale, Giant Piranha, Goblin Shark, Mutated Bowhead Whale, Pufferfish, Spider Crab, Sunfish, The Old Pike, Tuna |
| Endangered-flagged species | 9 | Bing Bong, Bowlfish, Dripper, Needlefish, Oarfish, Seahorse, Superdwarf Fish, Voxel Fish, Pufferfish |
Two practical consequences:
- Eleven of the 54 entries are boss summons, not casts. If your log shows 43/54 with no bosses, that is not bad RNG — you have skipped the summon lines. The bait page's drop-weight table is the fastest map to those eleven: Carrot → Pufferfish, Coconut → Bing Bong, Leech → Giant Piranha, Fish Bucket → Bowhead Whale, Empty Beer Can → Spider Crab, and the four Boss Lures covering the rest.
- Endangered-flagged species are quest-critical, not just rare. The Desert Tourist's delivery and similar quest lines demand specific endangered catches, so logging them early is also quest insurance. The full creature table with HP and values lives on our fish locations page. For boss entries, the boss kill calculator shows the exact shots each weapon needs on every boss HP pool.
The Boss Summons, Bait by Bait
Eleven of the 54 entries are boss-tier creatures in the game data, and nine of them can only be reached by consuming a specific bait. That matters for completion planning, because every bait on that line is destroyed on cast — there is no failed-cast refund — while ordinary lures survive most retrieves.
| Log Entry | How to Force It | Bait Cost | HP |
|---|---|---|---|
| Spider Crab | Empty Beer Can, 100% | $8 | 750 |
| Giant Piranha | Leech Bait, 100% | $1 | 2,500 |
| Sunfish | Beginner Boss Lure, 50% roll | $40 | 1,500 |
| The Old Pike | Beginner Boss Lure, 50% roll | $40 | 1,000 |
| Pufferfish | Carrot, 100% | $100 | 18,000 |
| Blue Shark | Standard Boss Lure, 100% | $280 | 2,300 |
| Tuna | Professional Boss Lure, 100% | $1,200 | 6,000 |
| Goblin Shark | Scientific Boss Lure, 100% | $5,800 | 7,500 |
| Bowhead Whale | Fish Bucket, 100% | quest reward | 20,000 |
The other two boss entries behave differently. The Albatross is not summoned by a lure at all — it arrives when you leave a caught Tuna on the grass on Island 4, which means the Tuna entry has to be logged first. The Mutated Bowhead Whale is a pure story encounter at the end of the Volcano: you cannot miss it if you finish the game, and you cannot obtain it if you do not.
Budget the line honestly. Logging all nine lure entries costs roughly $7,470 in bait alone, and the $5,800 Goblin Shark cast is about 78% of that total. The Sunfish and The Old Pike share one $40 lure on a 50/50 roll, so the true cost of logging both is whatever it takes to land each side of the coin — plan for at least two casts. All nine baits above are consumed 100% of the time, against a 20–40% loss rate for ordinary lures, so a failed boss fight costs full price again on the retry. If that arithmetic is the blocker, the upgrades guide covers the income side, and the hidden content roundup lists the summons the game never hints at.
The Efficient Completion Order
Chasing log entries island-hopping randomly wastes boat fuel. The order that works:
Phase 1: Standard Species by Island
Work islands in unlock order, clearing each pool before sailing:
| Island | Pool Focus | Bait Tier |
|---|---|---|
| Lighthouse | Shallow species + clams-era bodies | Free lure → Hot Dog ($1, 40% lost on retrieve) |
| Forest | Pike, salmon, sunfish tier | Beginner Lure ($3) → special bait (leech quest) |
| Desert | Tropical stock + shark-tier bodies | Standard Lure ($15) + Boss Lure ($280) |
| Rocks | Heavy-bodied species | Professional Lure ($50) + Boss Lure ($1,200) |
| Volcano | Endgame water | Scientific Lure ($500) + Boss Lure ($5,800) |
Rule: log before you leave. Re-sailing for one missed common is the most common completionist time sink.
Phase 2: Rare Variants
With standard tables logged, hunt gold ripples deliberately:
- Golden Shad and Mechanical Octopus on Lighthouse docks and cliffs
- Deep Pool Perch and Legendary Steelhead Trout in the valley/waterfall zones
- Giant Pufferfish variants on reef waters
This phase runs on the line-tension technique — pull-and-release rhythm, clear casting positions, weapon ready for hostile interruptions.
One sub-checklist most guides miss: nine species carry the game's internal endangered flag and are worth deliberate targets during phases one and two, because they double as achievement fodder — Pufferfish, Oarfish ($1,450), Seahorse, Superdwarf Fish ($1,700), Blobfish-tier rarities like the Voxel Fish ($340), plus BingBong, Bowlfish, Dripper and Needlefish.
Phase 3: Drip Creatures
The long tail. Rainbow variants spawn above rare in the hierarchy; farm gold spots across all islands with top-tier bait and convert surplus to casino spins at the Island 4 machine. Expect this phase to take longer than phases one and two combined.
Supporting Systems Worth Lining Up
- The grill (Desert grill master quest) — cooked catches sell higher, funding premium bait stacks
- Extra inventory slots — long logging sessions fill bags fast
- Radar mounted permanently via boat upgrades — island hopping without manual re-equipping
- Co-op split coverage — four players can fish four zones simultaneously and compare logs
Screenshot your Fishipedia gaps before each session start. Knowing the exact missing entries converts aimless fishing into targeted hunts — and prevents re-farming species already logged.
Common Completion Blockers
- Sold or eaten uniques mid-run — boss trophies are quest items, not log filler; keep them separate mentally
- Bait-tier mismatch — premium species ignore cheap lures entirely; no amount of casts fixes the wrong bait
- Single-spot syndrome — depth zoning means the same dock produces the same three fish forever; move
- Skipping side quests — several reward lures and baits that are themselves prerequisites for specific log entries
Is 100% Worth It?
For the story? No — credits roll regardless. For players, completion is the post-game: the casino grind, achievement hunting and full-log bragging rights all live here. The game's sandbox structure per Destructoid means the ending arrives whenever you want it; the Fishipedia is what you do when the ending is not the point.
Tracking Progress Without Spoiling Yourself
The Fishipedia shows what you have logged but not always where the gaps swim. Three tracking habits keep completion moving:
- Screenshot the log at each session start and end — the delta tells you whether tonight's route actually worked
- Note the bait used per entry when logging something unusual; future re-hunts (for variants) reuse the recipe
- Keep a simple missing-list — three columns: standard, rare, drip. Most players discover their standard table had holes well into the rare phase, which reorders priorities instantly
Completion is a marathon of small corrections, not a sprint. The players who finish are rarely the ones who farm hardest; they are the ones who never sail without knowing exactly which entry they are hunting.
The Collector Mindset
How to Fish rewards two different completion personalities differently:
- The list-finisher wants the standard table done fast — route discipline and bait matching carry this phase
- The variant hunter lives in phase two and three, where patience per catch matters more than casts per hour
Neither style completes the log alone. The standard-table player who ignores rares stalls at eighty percent; the variant hunter who skipped common logging sails back for minnows. The checklist order above exists precisely because alternating between styles per-island beats committing to either.
One last practical note: co-op crews can divide the log itself. Four players splitting zones then sharing screenshots of gaps finish in a fraction of solo time — and since money is shared anyway, nobody loses income by covering someone else's gap.
What Completion Actually Unlocks
Fair question after thirty-plus entries: what does the finished log pay? Three answers, none of them coins:
- The achievement tier — collection goals sit on the achievement list, and they cannot be bought or rushed
- Casino leverage — every logged species teaches you its spawn conditions, which is exactly the knowledge drip farming consumes
- Route mastery — a completed log is a mental map of every zone, bait match and tension pattern on the map, and that map makes every future money loop faster
Players expecting a plot reward will be disappointed; players who treat the log as the game's true endgame scorecard tend to find it the most durable fun in the package. Destructoid's walkthrough frames How to Fish as largely sandbox by design — the Fishipedia is the sandbox's ruler.
FAQ

What is the Fishipedia in How to Fish?
The in-game collection log tracking every species caught, including rare variants and drip creatures. Completing it requires logging all three layers across all five islands.
Do rare variants count separately?
Yes — rare and drip forms are their own entries, which is why full completion takes three passes over the same waters with escalating bait.
What is the fastest way to complete it?
Clear each island's standard table before moving on, then hunt gold ripples deliberately, then farm drip last. Co-op zone-splitting cuts wall time dramatically.
More How to Fish Guides
How to Fish has no console build, so there is nothing to cross: Steam PC, Deck and GeForce NOW players share the same 8-player lobbies. Co-op facts for 2026.
Desert Island guide: the grill master's shark, the tourist's endangered creature, SMG attachment shopping, and beating the Pufferfish.
How to get drip rainbow creatures in How to Fish: what they are, where they spawn, how the Island 4 slot machine turns them into legendary weapon skins.
Dynamite does 200 explosion damage per stick in How to Fish — what that one-shots, how many sticks each boss needs, and the patch 1.0.11 self-damage rule.
Forest Island guide: the five-leech quest and special bait, where guns unlock, the girl's big yummy fish, and the Giant Piranha fight.
How to beat the Giant Piranha in How to Fish: the $1 Leech Bait summon chain, 2,500 HP solo tactics, and what patch 1.0.12 did and did not change.
Every island in How to Fish in unlock order — Lighthouse, Forest, Desert, Rocks, Military Volcano — with the boss trophies that gate each one.
There is no official How to Fish Android or iOS version. Here are three safe ways to play on a phone, and what those Play Store listings really are.