
How to make money fast in How to Fish: early clam loops, the shotgun pipeline, cooking multipliers, dynamite farming and the $20,000 rifle fund.
How to Fish Money Fast Guide: Cash Tips at Every Stage
Money in How to Fish is deliberately tight for the first hour — shared across the whole co-op crew, drained by every shop visit, and gated behind systems the game never explains. The difference between a smooth run and a broke one is knowing which loop your current gear supports. Here is every money method, stage by stage.
Hour One: Clams, Fists and the $3 Rod
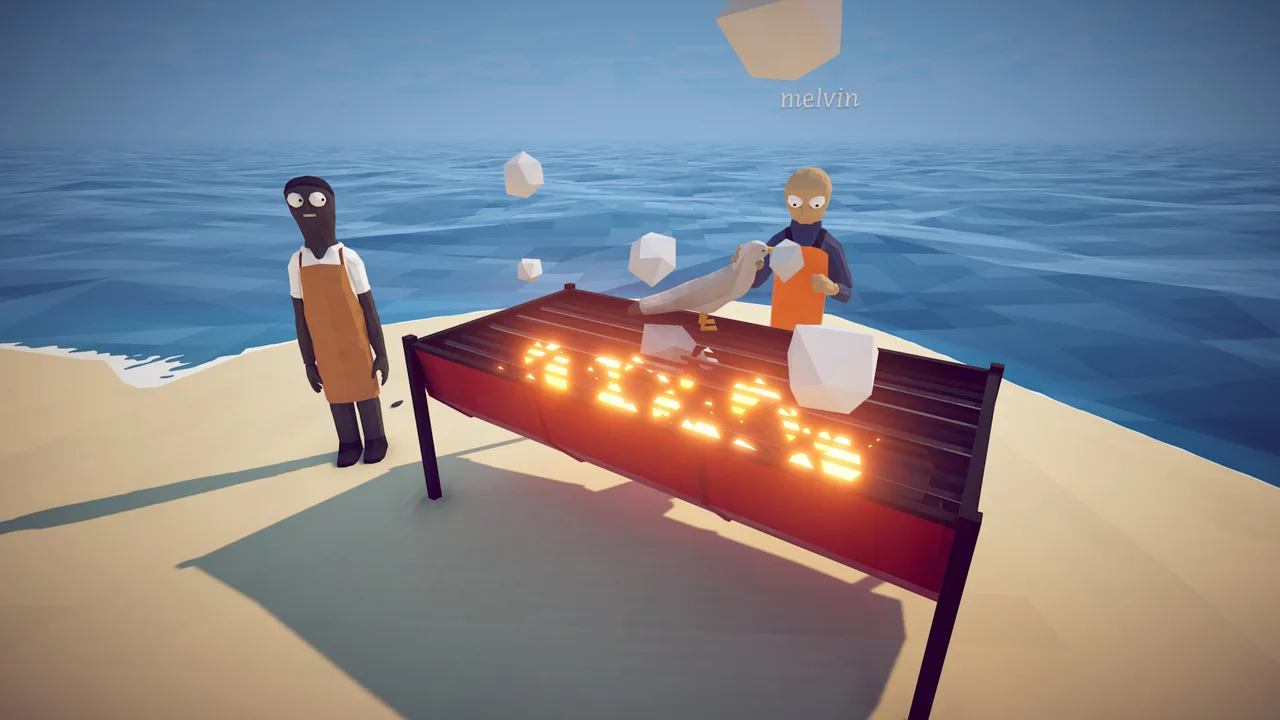
Before any upgrade exists, three income streams carry you:
- Throw clams to the Lighthouse Keeper — free, repeatable, teaches the throw mechanic he later uses for quest hand-ins
- Catch shallow-water species on the free lure — they die to bare fists and sell consistently
- Buy the Basic Fishing Rod ($3) and expand your catchable pool immediately
The discipline here matters more than the method: every dollar should route toward knife sharpenings ($14/$28/$36) and the Radar ($10). Both pay for themselves within the hour.
The Early Loop: Hotdog Lures and Bigger Bodies
At $1 each, Hotdog Lures are the first real money multiplier. Bigger catches mean more value per kill, and melee still handles them after a sharpening or two. This loop funds the Shotgun — which is itself a money upgrade disguised as a weapon.
Exact Fish Sell Prices
Every species has a base sale value. These are unmodified prices — before the weight roll and cooking multiplier explained below:
| Species | Base Value | Notes |
|---|---|---|
| Clam | $1 | Shoreline pickup, Island 1 fodder |
| Goldfish | $24 | Shallow-water starter stock |
| Bass | $250 | Mid-tier all-rounder |
| Eel | $280 | Fights back — 18 contact damage |
| Red Snapper | $280 | |
| Sengarat | $280 | Forest-era staple |
| Halibut | $290 | 27 kg class |
| Flying Fish | $320 | Trick-shot fuel — launches itself |
| Tigerfish | $310 | 24 contact damage, handle barehanded at your peril |
| Parrotfish | $350 | |
| Voxel Fish | $340 | Flagged endangered in the files |
| Dripper | $380 | Endangered variant species |
| Blobfish | $1,360 | Deep-zone premium catch |
| Oarfish | $1,450 | Endangered — 60 fullness restore |
| Stonefish | $1,500 | 30 contact damage — do not punch |
| Anglerfish | $1,500 | 80 kg, 40 contact damage |
| Superdwarf Fish | $1,700 | Endangered micro-fish, absurd value-per-gram |
Two hidden systems sit on top of these numbers:
- Every fish rolls a hidden weight multiplier — a gaussian around 1.0 with standard deviation 0.15, clamped between 0.25× and 1.75×. Sale value scales linearly with the roll, so two "identical" goldfish can legally sell for $6 and $42. A fat roll on a premium species is worth chasing; never re-roll cheap stock.
- Cooking applies a fixed curve: raw 1.0×, perfectly cooked 1.5×, burnt 0.1×. Burning a Blobfish turns $1,360 into $136 — the grill punishes inattention harder than any fish fights back.
Sell ordinary fish freely, but anything with a unique proper-noun name is a quest trophy until an NPC takes it. Selling boss drops is the most expensive mistake in the game's economy.
The Exact Value Formula
Final sale value comes from one expression the game applies to every catch:
Run your own numbers instead of doing the math by hand: the fish value calculator applies this exact formula to all 54 creatures — pick the fish, cooking state and weight roll and it shows the precise sell price with every multiplier broken out.
- Base Worth — the table above
- Weight Roll — Gaussian, mean 1.0, σ 0.15, clamped 0.25×–1.75× (expected value 1.0×)
- Cooking Curve — raw 1.0×, cooked 1.5×, burnt 0.1×
- Bet Multiplier — your active wager, up to 10× on high-stakes tables
- Kill-Score Multiplier — trick-shot chains, up to the famous 360 no-scope bonuses
Worked example — a cooked Tuna with a 1.3× weight roll and a 3× bet:
2,000 × 1.3 × 1.5 × 3 = $11,700
Same Tuna, burnt, no bet: 2,000 × 1.0 × 0.1 = $200. The grill and the bet are worth more than the fish.
Per-Bait Expected Value (The Farming Math)
Because the game stores exact drop weights per bait, expected income per cast is computable. Here is the full expected value per bait, assuming cooked sales at 1.5× with mean weight (1.0×) and base fish worths — these are the numbers that decide which loop is actually profitable:
| Bait | Cost | Best Catch | EV per Cast ($) |
|---|---|---|---|
| Default Fish Bait | $0 | mixed starter | ~1.5 |
| Hot Dog ($1) | $1 | Rock Crab / Lobster | ~7 |
| Beginner Lure ($3) | $3 | Cod / Pike / Piranha | ~8 |
| Standard Lure ($15) | $15 | Catfish / Bluegill | ~19 |
| Professional Lure ($50) | $50 | Sengarat / Red Snapper | ~62 |
| Scientific Lure ($500) | $500 | Stonefish / Blobfish / Anglerfish | ~240 |
| Carrot ($100) | $100 | Pufferfish (100%) | ~18,000 per catch |
| Coconut ($350) | $350 | Bing Bong (100%) | ~450 per catch |
| Leech Bait ($1) | $1 | Giant Piranha (100%) | ~16,500 per catch |
| Fish Bucket | $0 | Bowhead Whale (100%) | ~12,000 per catch |
| Empty Beer Can ($8) | $8 | Spider Crab (100%) | ~15,000 per catch |
The boss lures and special baits destroy the regular ladder on EV — Leech Bait at $1 for a $11,000 base creature (Giant Piranha) is the single best value purchase in the game. A leech costs less than a hotdog and summons the game's #4 money fish.
Boss EV assumes you can actually land the fight. A Pufferfish with 18,000 HP and 34 damage per hit will eat an unprepared player's whole boat fund. Treat boss farming as the endgame loop, not the early one — the $1,200 Professional Boss Lure exists for players who have the guns to match.
The Per-Session Route That Maximizes $/Minute
Putting the formula together with catch times (bite windows):
- Islands 1–2 — Beginner Lure on the starter pool: ~$8 EV per cast, 1–3s bite window, zero risk. Do this for 10 minutes, grill everything, you fund the $150 Shotgun.
- Island 3 transition — switch to Professional Lure once the Forest's shop carries it ($50): ~$62 EV per cast is a 7× jump on the beginner ladder and pays for itself in two catches.
- Endgame — stack a Boss Lure on a single fight per session: one successful Spider Crab / Giant Piranha kill funds the $20,000 Assault Rifle in two or three sessions, and the fight itself is the skill check that makes the loop sustainable.
- Always cook, never burn — the 1.5× curve is free money; the 0.1× burn curve is the fastest way to lose it.
This is why "farm the deep water" advice is incomplete: the per-bait EV table above shows the beginner pool at ~$8/cast beats deep water at ~$62/cast on a per-hour basis when you account for travel time and risk. Match the bait to the route, not the route to the bait.
Mid Game: The Shotgun Pipeline
Once the Shotgun ($150) is on your back, the money loop compresses:
- Catch bigger fish with better lures
- Kill fast — wide pellet spread means no missed shots on moving targets
- Trick shot kills (mid-air, multi-kills) stack value multipliers before you ever reach a shop
- Sell, restock ammo, repeat
This pipeline funds the SMG ($650), cooking infrastructure, and eventually the assault rifle fund. Trick shots are the hidden multiplier here: per GamesHub's tips breakdown, they raise kill value on everything you sell, and the Sniper Rifle tier amplifies them further.
Cooking: The Passive Raise
From Island 3 onward, cooked catches outsell raw consistently — the files put the cooked multiplier at exactly 1.5× base value, with burnt catches collapsing to 0.1×. Building the cook-before-you-sell habit costs nothing but a few seconds per catch and compounds across an island stay. Raw selling is simply leaving coins on the dock.
One unlock matters more than any other on this front: the Grill. It is not available from the start — you get it on the Desert Island by completing the Grill master's shark request, and until that hand-in is done, cooking simply is not part of your economy. This is why the desert stop pays for itself twice: the SMG you buy there powers the shark fight, and the Grill it unlocks turns every future catch into a higher-value sale. Players who rush past the quest often wonder why their margins stall even with perfect trick shots — the cook multiplier was still locked behind a shark.
Dynamite: Paying for Convenience
At $25 per stick (200 explosion damage per blast), dynamite is not the most profitable method — it is the least effortful. Per Destructoid's items guide, it remains "one of the laziest and most effective ways to fish": cluster a shallow, throw, collect. Use it when time matters more than margin, or when a bad fight needs an exclamation mark.
Late Game: Funding the $20,000 Rifle
The assault rifle is the game's wall — and the reason mid-game money discipline exists. The funding loop:
- Island 4 trick-shot farming with the Sniper Rifle (highest multipliers)
- Cooked sales on every catch, no exceptions
- Boss trophies handed in promptly so island unlocks never stall your farming grounds
- Zero impulse purchases — boat upgrades wait until after the whale dies
What NOT to Spend Money On
| Purchase | Verdict |
|---|---|
| Pistol ($50) | Trap — save for the shotgun instead |
| Early boat speed parts | Comfort, not income; firepower pays rent |
| Extra lures beyond your rotation | Dead inventory weight |
| Anything during a co-op shop run without group agreement | Shared wallet chaos |
Money Benchmarks: What You Should Have by Each Island
Under-earning is invisible until a gate slams shut. These rough checkpoints tell you whether your loop is healthy:
| Checkpoint | Healthy Wallet | Why This Number |
|---|---|---|
| Leaving Lighthouse | $150+ saved | Shotgun money on arrival at Forest |
| Clearing Forest | $650–800 | SMG purchase without selling gear |
| Clearing Desert | $1,000+ | Ammo stocks plus cooking setup |
| Clearing Rocks | Saving toward $20,000 | The assault rifle fund begins |
Falling behind a checkpoint is not a disaster — dynamite farming and trick-shot sessions catch up fast — but reaching the Volcano under-funded turns the finale into a grind.
Common Money Mistakes
Selling trophies. Already covered everywhere because it is everywhere: the uniquely named drop is a key, not vendor trash. Re-farming a boss costs more than any fish is worth.
Buying the pistol "to have a gun." $50 of dead weight on normal runs. The shotgun arrives on the same island.
Upgrading the boat first. Speed feels productive and pays nothing. Every economy guide converges on weapons-before-boat for one reason: a faster boat reaches poverty quicker.
Raw-selling after Island 3. Cooking multipliers compound across dozens of catches per island. Skipping the cook step is a self-imposed pay cut.
Uncoordinated co-op spending. Four players with one wallet and no plan equals four pistols. Assign a buyer.
Trick Shots: The Skill Multiplier
Trick shots convert combat flair into sale value — mid-air kills and multi-kills stack multipliers on whatever you sell afterward. You do not need highlight-reel shots to profit:
- Launch small catches with a shotgun blast and finish them airborne; even low-value fish pay the bonus
- Cluster kills near shallow reefs where dynamite or spray weapons can catch several at once
- Save trick-shot practice for Island 4, where the Sniper Rifle's top-tier multipliers make the same techniques pay double
The compounding effect matters more than any single kill: a crew that trick-shots consistently funds its assault rifle several islands earlier than one that sells flat kills.
Dynamite Farming: When Effort Beats Efficiency
Dynamite ($25) has a specific economic niche. It will not out-earn an optimized trick-shot loop per hour, but it wins on consistency:
- No aim required — throw into clustered shallows and collect what floats up
- No ammo draw from your primary weapon's stockpile mid-progression
- Emergency value — stuck on a boss phase? An explosive resets the engagement math instantly
Per Destructoid's items guide, it is deliberately "lazy and effective." Budget a few sticks per island as working capital rather than a primary income source, and they quietly pay for themselves.
Money Connects Every System
The economy touches everything, so the money page is the hub: fish values come from the complete creature stats, the bait costs that fund your loop live on the bait guide, and the guns you are saving for are ranked in the best weapon guide.
FAQ
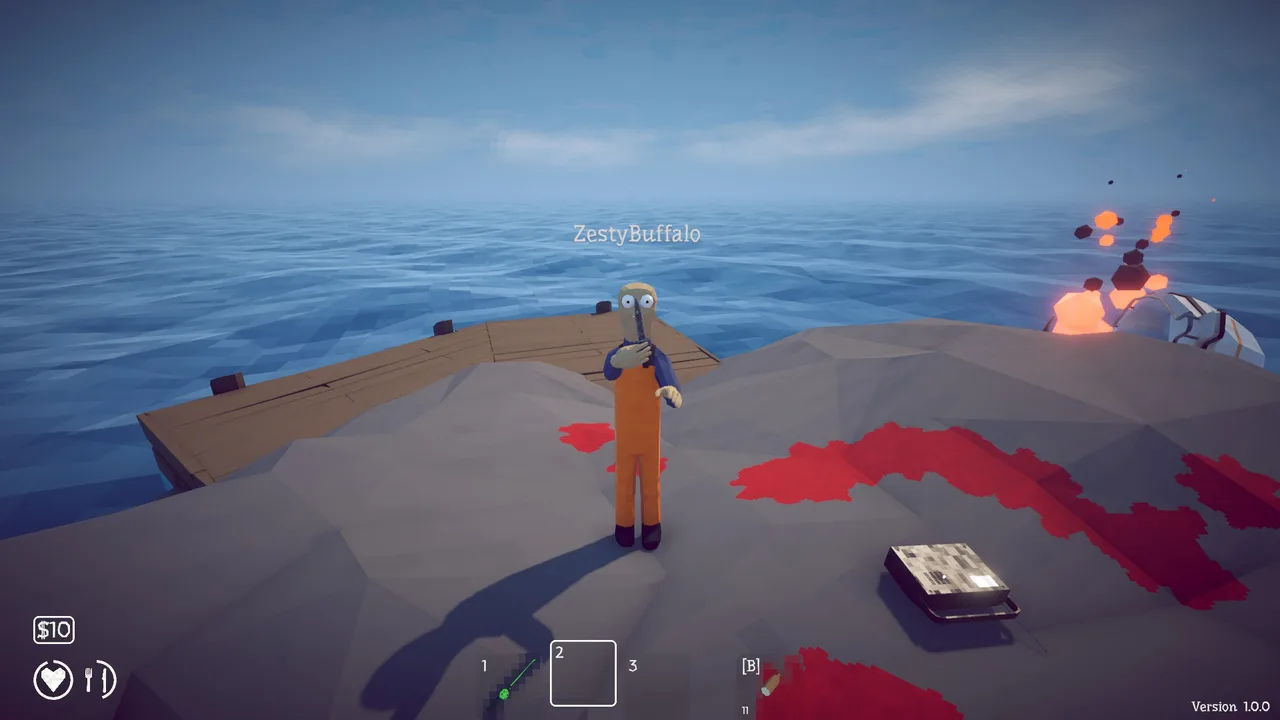
What is the fastest way to make money in How to Fish?
Early: clams plus shallow catches into knife upgrades. Mid: shotgun kills with trick-shot finishes. Late: Sniper Rifle trick-shot farming with everything cooked before sale.
Why is my money shared with friends?
How to Fish pools the wallet across up to four co-op players by design. Set purchase priorities as a crew before shopping.
Do cooked fish really sell for more?
Yes — exactly 50% more. The sale formula is base value × weight roll × cook multiplier, where cooking a fish properly yields 1.5× and burning it yields 0.1×.
Why do identical fish sell for different prices?
Every spawned fish rolls a hidden size multiplier (gaussian, mean 1.0, clamped 0.25×–1.75×) that scales its weight and sale price together. Selling your biggest captures instead of the first-caught is free money.
Official Sources
Official source: the How to Fish store page carries the official $7.99 list price, and the official patch notes record the drops and value changes that move these numbers.
- How to Fish on Steam — official store page and patch feed
- How to Fish news hub — every official announcement, newest first
- Dazed Games — the two-person studio behind the game
More How to Fish Guides
Boat upgrades in How to Fish explained: engine and storage parts, the permanent radar mount, why boats come last in purchase orders and when speed pays off.
How to Fish has no console build, so there is nothing to cross: Steam PC, Deck and GeForce NOW players share the same 8-player lobbies. Co-op facts for 2026.
Desert Island guide: the grill master's shark, the tourist's endangered creature, SMG attachment shopping, and beating the Pufferfish.
How to get drip rainbow creatures in How to Fish: what they are, where they spawn, how the Island 4 slot machine turns them into legendary weapon skins.
Dynamite does 200 explosion damage per stick in How to Fish — what that one-shots, how many sticks each boss needs, and the patch 1.0.11 self-damage rule.
The Fishipedia completion guide for How to Fish: logging every species, rare variant and drip entry with a checklist order that avoids wasted island trips.
Forest Island guide: the five-leech quest and special bait, where guns unlock, the girl's big yummy fish, and the Giant Piranha fight.
How to beat the Giant Piranha in How to Fish: the $1 Leech Bait summon chain, 2,500 HP solo tactics, and what patch 1.0.12 did and did not change.