
Trick shots in How to Fish are mid-air, multi-kill or 360 kills that raise the killscore multiplier on the sale price. Here is what pays and what does not.
How to Fish Trick Shots: Killscore and Multipliers Explained
A trick shot in How to Fish is a kill the game flags as stylish — a mid-air finish, a multi-kill, or a 360 no-scope — and it applies a killscore multiplier to that creature's sale value. Killscore is not a separate currency and not a cosmetic scoreboard: it is a multiplier slot in the sale formula, so the same fish is worth more when it dies well. An island NPC states the deal in plain text: "I'll throw in some extra cash for the catch if you use a trick shot, the trickier the better."
That is the whole system in two sentences. What follows is which finishes count, how killscore stacks with weight and cooking on the way to the shop, and how the control options added in patch 1.0.11 change the combos you can actually chain.
What Counts as a Trick Shot
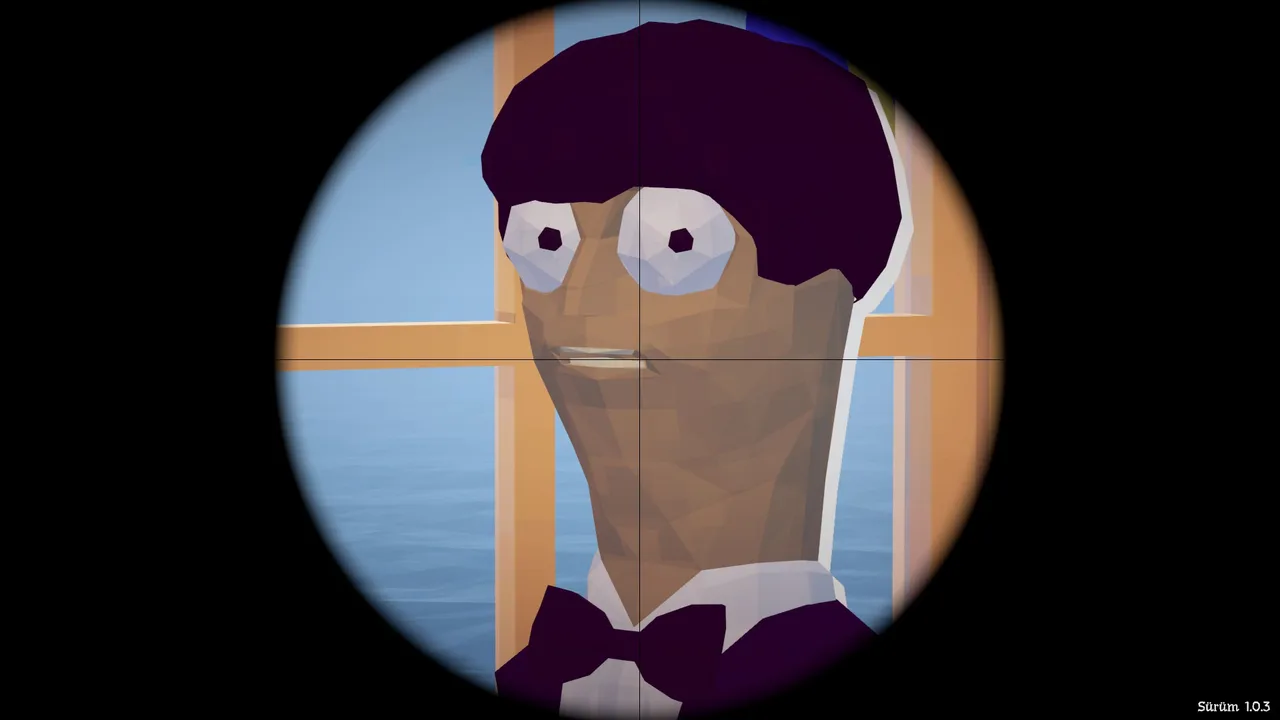
The game tracks kill context, not just damage:
- Mid-air kills — the target dies while airborne, launched by an explosion, a shotgun knockback or its own jump
- Multi-kills — several creatures die in one exchange or explosion window
- 360 no-scopes — a full spin before an unscoped shot lands; the signature flex, and per TposeGaming the multiplier king among trick shots
Each qualifying finish adds a multiplier to that kill's value, which then flows through cooking bonuses into the final sale price. The game does not display the exact formula anywhere — launch guides agree on the direction (style pays) without agreeing on precise percentages, so treat every number you see secondhand as an estimate.
Trick Shot Killscore Multiplier Table
Killscore multiplies; it never adds. Here is the full sale formula as the shipped game files compute it, with the one layer nobody has published numbers for marked honestly:
| Layer | Confirmed value | Where it comes from |
|---|---|---|
| Base creature worth | fixed per species (Giant Piranha $11,000, Spider Crab $10,000) | creature data |
| Weight roll | gaussian mean 1.0, standard deviation 0.15, clamped to 0.25x-1.75x | rolled on every spawn |
| Cooking curve | raw x1.0, cooked x1.5, burnt x0.1 | grill advances 0.025 per tick |
| Bet multiplier | read from the island 6 roulette bet | betMultiplier in the formula |
| Killscore multiplier | tracked per kill, values never published | trick-shot finish |
Which finishes qualify, and what each one is officially worth:
| Finish | What triggers it | Published multiplier |
|---|---|---|
| Mid-air kill | target dies while airborne, after knockback, an explosion or its own jump | none published |
| Multi-kill | two or more creatures die inside one shot or explosion window | none published |
| 360 no-scope | a full spin lands before an unscoped shot connects | none published |
| Plain ground kill | anything else | no bonus at all |
There is no official killscore multiplier table. The game exposes the multiplier as a slot in the sale formula and stops there, so any exact percentage you see quoted online is somebody's estimate. Treat the direction as certain and the decimals as fiction.
Why Killscore Matters More Than It Sounds
Killscore is not cosmetic bragging. The multiplied value attaches to the carcass:
- Kill with style — the multiplier applies
- Cook if grill access exists (Desert onward) — another multiplication layer
- Sell — the stacked value lands in your wallet
One styled-and-cooked mid-tier fish can outearn several plainly killed ones. The stacking is fully multiplicative: final sale value = base worth × body-weight roll × cooking bonus × bet multiplier × kill-score multiplier. Because each layer multiplies rather than adds, a styled, perfectly-cooked, high-roll catch isn't just slightly better — it's several times better. Over a farming session, the gap compounds into thousands — which is exactly why money guides keep insisting trick shots are a money system rather than a flex.
The Weapon Ladder for Trick Shots
Not every gun styles equally:
| Weapon | Trick-Shot Suitability |
|---|---|
| Shotgun ($150) | Entry-level: knockback launches bodies skyward for follow-up air kills; 3–28 damage per pellet |
| SMG ($650) | Volume play — multi-kills during clustered encounters |
| Sniper Rifle ($3,800) | Best in class: 200 stock damage rising to 500 upgraded, plus the largest trick-shot multipliers |
| Assault Rifle ($20,000) | Endgame power at 40–100 damage per shot, but overkill styling |
Per TposeGaming and Xmodhub both, the Sniper Rifle is the trick-shot king — highest precision damage plus top multipliers. The natural pairing is Rocks-island farming: hunt there, style everything, fund the assault rifle.
Patch 1.0.11 Options That Change Your Combos
Patch 1.0.11 (2026-09-01) added four control options that matter more to trick-shot play than to anything else in the game. The official wording is short — "Added option to use toggle for aiming", "Added option to hold to attack", "Added option to use toggle for sprinting" and "Added option to toggle nametags" — but each one rewires a different part of a combo.
| Setting | What it changes | Effect on a trick-shot combo |
|---|---|---|
| Toggle aiming | aim stays on after one press instead of holding the button | The 360 spin becomes a single clean input: flick the toggle off at the end of the spin instead of fighting a held button. The best change in the patch for no-scope practice, and the first one controller players should switch on |
| Hold to attack | fire repeats while the button is held | Shotgun knockback chains get smoother, but you lose the click rhythm that teaches mid-air timing. Budget extra shells for the first session |
| Toggle sprint | sprint latches instead of being held | Faster repositioning between the launch and the finish, which is where most multi-kill windows are actually lost |
| Toggle nametags | one press hides or shows nametags | Co-op clarity: turn them off when bodies and birds are both in the air and the sky is full of text |
Official source: STEAM DECK VERIFIED, GEFORCE NOW & PATCH 1.0.11 — all four options are listed under NEW in the official announcement.
The honest verdict: toggle aiming is a real upgrade for spin shots, hold to attack is a sidegrade that costs precision, and the other two are comfort settings. Test each one in the practice tier before carrying it into a boss arena.
Where to Practice and Farm
Practice tier (Islands 1–2): small catches die to anything; use them to learn the launch-then-shoot rhythm for free. Shotgun knockback on shallow species teaches mid-air timing cheaply.
Income tier (Island 3–4): Desert waters with cooked-sale stacking, then the Rocks where Sniper multiplies peak. TposeGaming calls 360 kills at this stage extremely profitable when cooked afterward.
Boss tier: the Terrorizing Bird fight doubles as a trick-shot showcase — vertical movement creates constant air-time. Land styled shots during dive windows and the trophy pays twice.
Farming Loop: A Session Blueprint
- Gear up: Sniper (or best available), ammo buffer, grill access confirmed
- Pick a high-value zone — Rocks territory or stocked Desert shallows
- Style-kill everything: launch with knockback, finish airborne; spin before unscoped shots where feasible
- Cook every carcass before selling — the multipliers stack multiplicatively
- Bank proceeds against the next weapon milestone
Repeat sessions compound: each loop funds better attachments, which make styling easier, which raises the income ceiling again.
Common Mistakes
- Styling low-value bodies. A perfect 360 on a minnow earns pocket change; save effort for valuable targets
- Skipping the cook. Raw selling throws away a stacking layer you already earned
- Chasing style into danger. Trick-shot attempts near boss arenas or hostile packs trade guaranteed income for gamble damage
- Believing exact multiplier numbers. No official table exists; guides agree on direction, not decimals
The Physics of a Launch
Mid-air kills start with getting the body airborne, and How to Fish offers three launchers:
- Shotgun knockback — the reliable option; close-range blasts flip bodies upward on a repeatable arc
- Dynamite — the whole cluster goes up at once, which is how multi-kill air shots happen without aim
- The creature itself — jumping species create free air-time if you time the shot to their apex
Learn one launcher at a time. The shotgun path teaches the timing window — shoot as the body peaks, not as it rises — and that window transfers to every other method.
Killscore Culture
Community play has turned killscore into a meta-game of its own. Crews run style competitions during farm sessions: best 360, longest air-time finish, most bodies in one blast. It sounds like mucking around until you notice the economic consequence — the crew that styles together funds legendary skins together, because every joke kill is also multiplied income.
Solo players get the same benefit quietly. The recommended drill is ten minutes of styled shallow-water clears before each serious session: warm fingers, calibrated arcs, and a growing sense for which bodies are worth styling versus which should just die efficiently.
What Does NOT Count
Worth flagging, because wasted effort is real: ordinary ground kills earn nothing extra no matter how dramatic they look, and cooking does not retroactively style a plainly-killed fish. The multiplier attaches at the moment of death. Players report post-hoc attempts — re-shooting carcasses into the air, blasting already-dead bodies — produce sale values identical to boring ones. Style before the kill, or not at all.
Session Blueprint: The Rocks Farming Circuit
Once the Sniper Rifle exists, the Rocks island becomes a self-funding trick-shot gym. A working circuit:
- Warm up on shoreline bodies — ten minutes of styled small kills calibrates arcs and spin timing at zero risk
- Move to the premium zones — gold-ripple and high-value waters where multipliers multiply meaningfully
- Chain kills where possible — clustered creatures caught in one blast-and-finish sequence stack multi-kill bonuses
- Cook and sell at session end — every styled carcass passes through the grill before the shop
Per TposeGaming, 360 no-scopes at this stage are "extremely profitable when cooked" — the loop funds the assault rifle faster than any plain-shooting alternative. Budget one full session per circuit and the $20,000 arrives without pain.
Trick Shots and the Money Multiplier
Trick shots are the skill layer on top of the money system. The money farming guide explains how kill-score multipliers compound with cooking, and the best weapon guide ranks which guns make the big trick-shot chains feasible.
FAQ
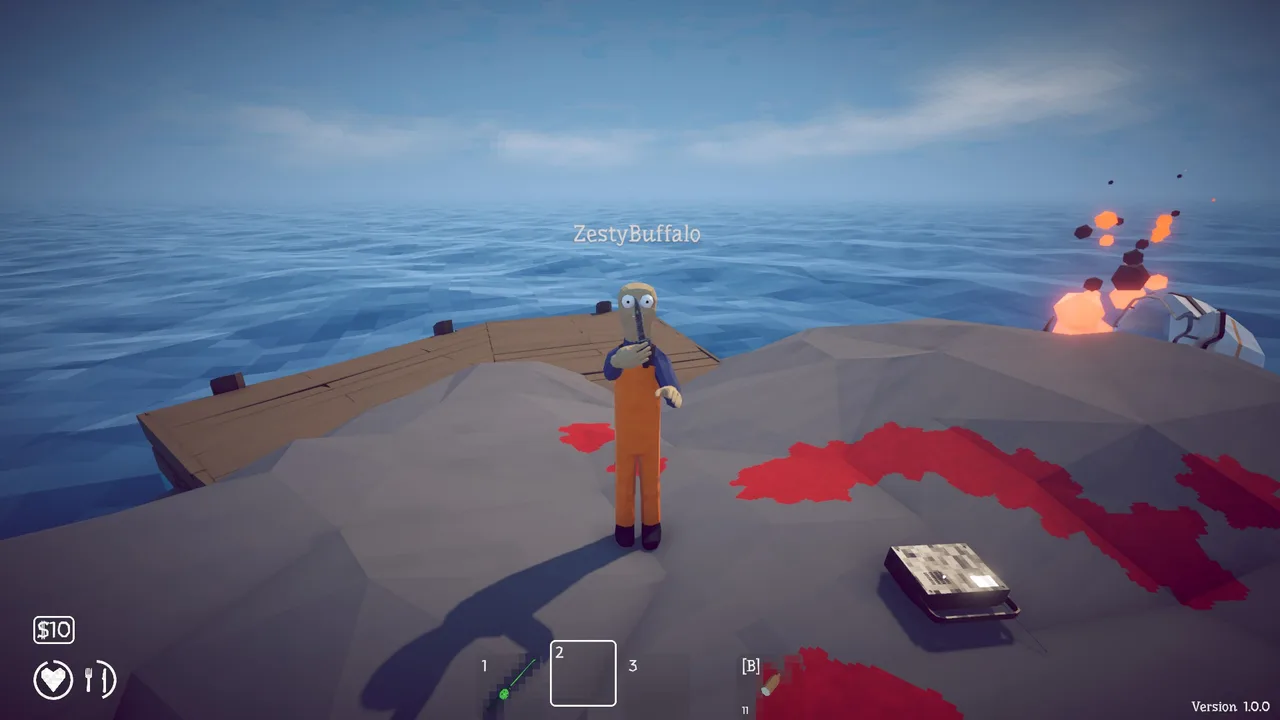
Do trick shots increase money in How to Fish?
Yes — styled kills add value multipliers to what you sell, and they stack with cooking bonuses. It is the game's main skill-based income lever.
What is the best trick-shot weapon?
The Sniper Rifle: highest precision damage paired with the largest multipliers. The shotgun works as the budget practice option.
Are 360 no-scopes worth learning?
For money farming at the Rocks tier and later, absolutely — they carry the biggest multipliers and turn routine kills into premium sales.
Official Sources
Official source: How to Fish on Steam — the store page and its news hub are the only places the developers publish patch changes.
- How to Fish on Steam — official store page and patch feed
- How to Fish news hub — every official announcement, newest first
- Dazed Games — the two-person studio behind the game
Related Guides
- Money Farming Guide — how killscore compounds with cooking on the way to the shop
- Best Weapon Guide — which guns actually make the big chains possible
- Weapons Unlock Guide — prices and damage ladders for every gun in the game
- Dynamite Guide — the fastest multi-kill launcher, and how to throw it without dying
- Terrorizing Bird Guide — the boss fight that doubles as a trick-shot range
More How to Fish Guides
How to Fish has no console build, so there is nothing to cross: Steam PC, Deck and GeForce NOW players share the same 8-player lobbies. Co-op facts for 2026.
Desert Island guide: the grill master's shark, the tourist's endangered creature, SMG attachment shopping, and beating the Pufferfish.
How to get drip rainbow creatures in How to Fish: what they are, where they spawn, how the Island 4 slot machine turns them into legendary weapon skins.
Dynamite does 200 explosion damage per stick in How to Fish — what that one-shots, how many sticks each boss needs, and the patch 1.0.11 self-damage rule.
The Fishipedia completion guide for How to Fish: logging every species, rare variant and drip entry with a checklist order that avoids wasted island trips.
Forest Island guide: the five-leech quest and special bait, where guns unlock, the girl's big yummy fish, and the Giant Piranha fight.
How to beat the Giant Piranha in How to Fish: the $1 Leech Bait summon chain, 2,500 HP solo tactics, and what patch 1.0.12 did and did not change.
Every island in How to Fish in unlock order — Lighthouse, Forest, Desert, Rocks, Military Volcano — with the boss trophies that gate each one.